
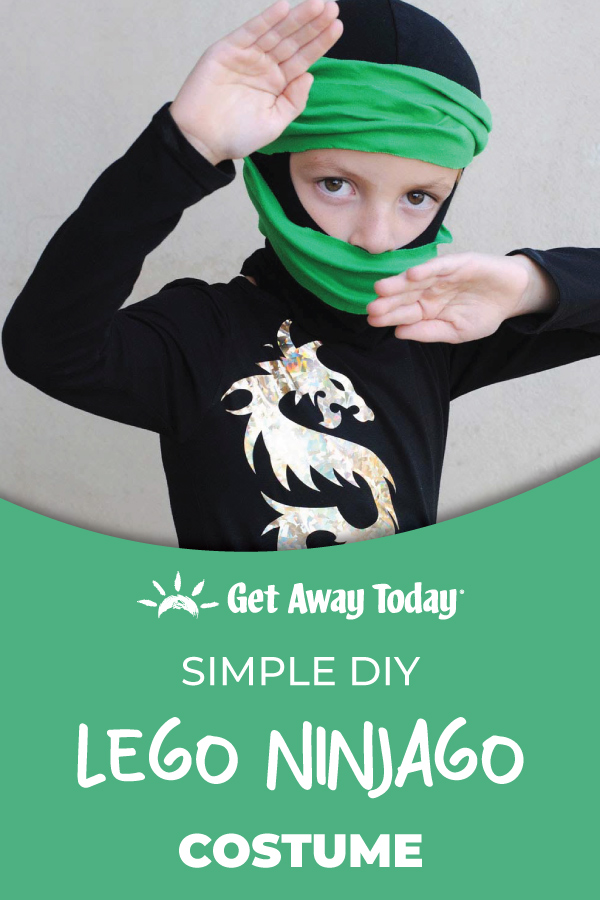
You can sew this simple LEGO Ninjago costume in just a matter of minutes! This easy tutorial has everything you need to make a LEGO Ninja costume for Halloween (especially fun if you are visiting LEGOLAND for the Brick or Treat event) or for some everyday Ninjago dress up fun!
We created this super simple Ninja costume and tutorial that anyone can do, even if you are a beginner seamstress.
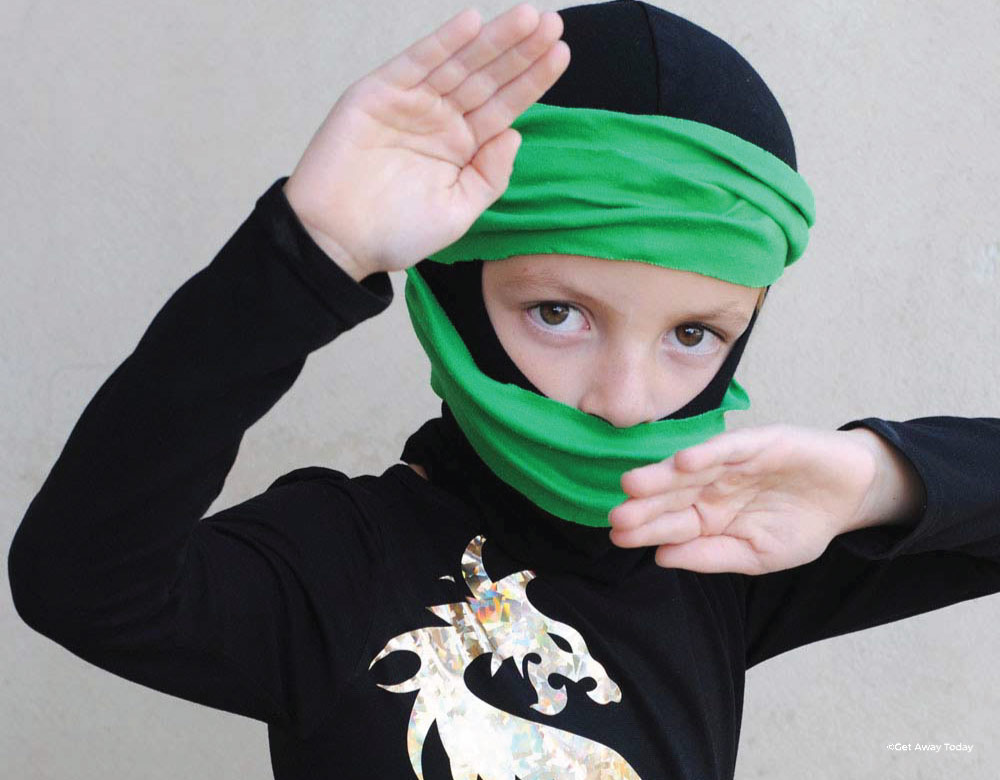
Simple LEGO Ninjago Costume DIY
This costume is so easy to put together. The mask takes only a few minutes to make and the rest of the steps are quick. You’ll feel like a crafting Ninja by the time you finish.
LEGO Ninjago Costume Supplies:
- 1/4 yard black 4-way stretch cotton knit
- 1/4 yard cotton knit (whatever color your Ninja wants to be)
- Black shirt and pants
- Sewing supplies
- Gold Iron-on Vinyl
- Iron
- Pencil
- Scissors
- Play Weapon
LEGO Ninjago Costume DIY - Dragon Silhouette
When you purchase your gold vinyl, make sure to get a vinyl that is made for sticking to fabric. If you have a Cricut machine, this step is going to be a snap! Find a cool dragon silhouette image and then cut it out with your Cricut cutter. Make sure to follow the directions on the vinyl and place it upside down on the sticky board before you cut it.
If you don't have a Cricut, then you can cut it out by hand. Print off a dragon silhouette from the internet and then trace it onto the vinyl. Cut it out with scissors.
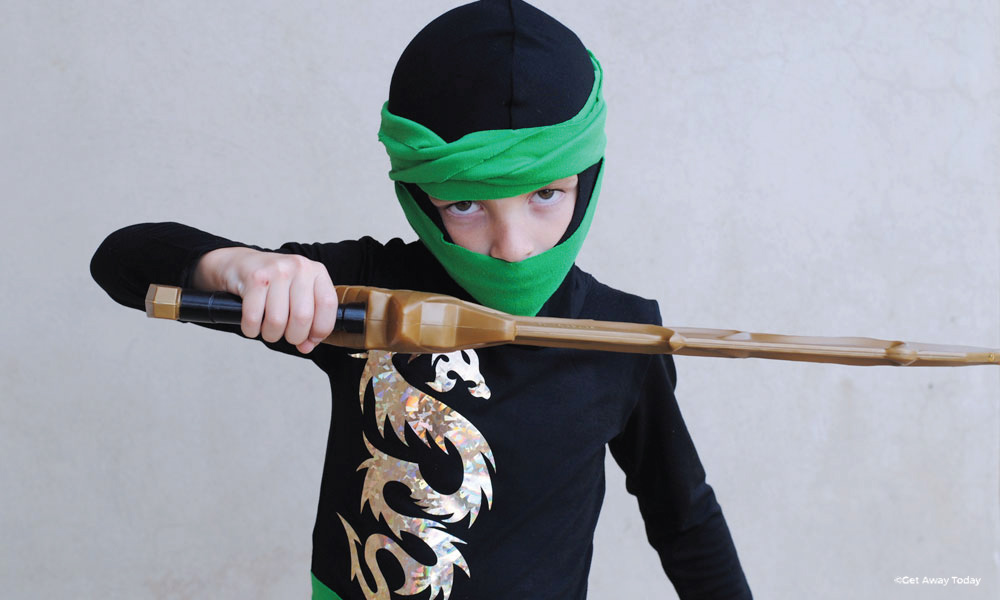
Iron the Ninjago costume dragon onto the front of the Ninja shirt. It should be placed on the right side of the shirt, not in the middle. Line the dragon up along the seam on the shirt and make sure you have it set perfectly before you apply the heat. You can only put it on once, so you’ll want to be careful.
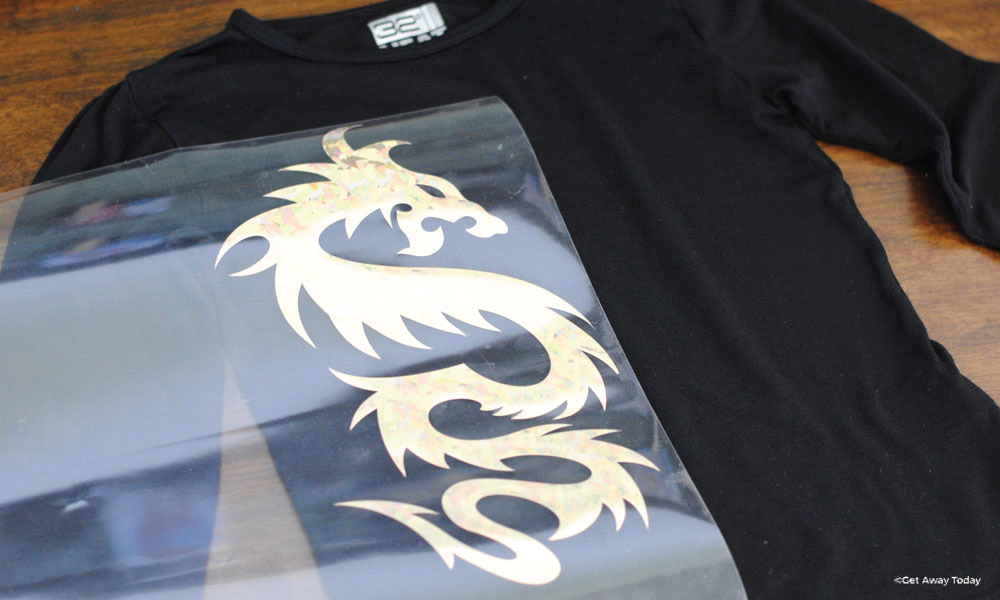
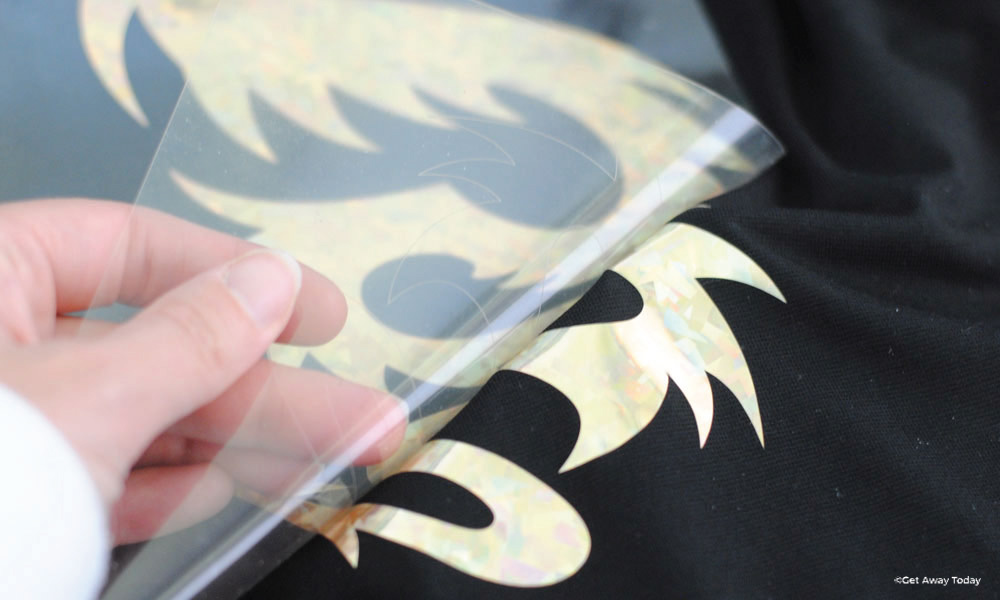
Peel the covering off of the vinyl and the gold dragon is ready for action!
LEGO Ninjago Costume DIY - Mask
Then, it's time to sew the Ninjago mask. You can download the pattern here. This pattern is perfect for a toddler size. If your Ninja is a little bit older like mine, add about 1 inch all the way around the pattern when you cut! You only need to add the extra inch to the part that is NOT on the fold.
Fold the black fabric to make a section where the pattern fits. Lay the part with the eye hole along the folded edge of the fabric.
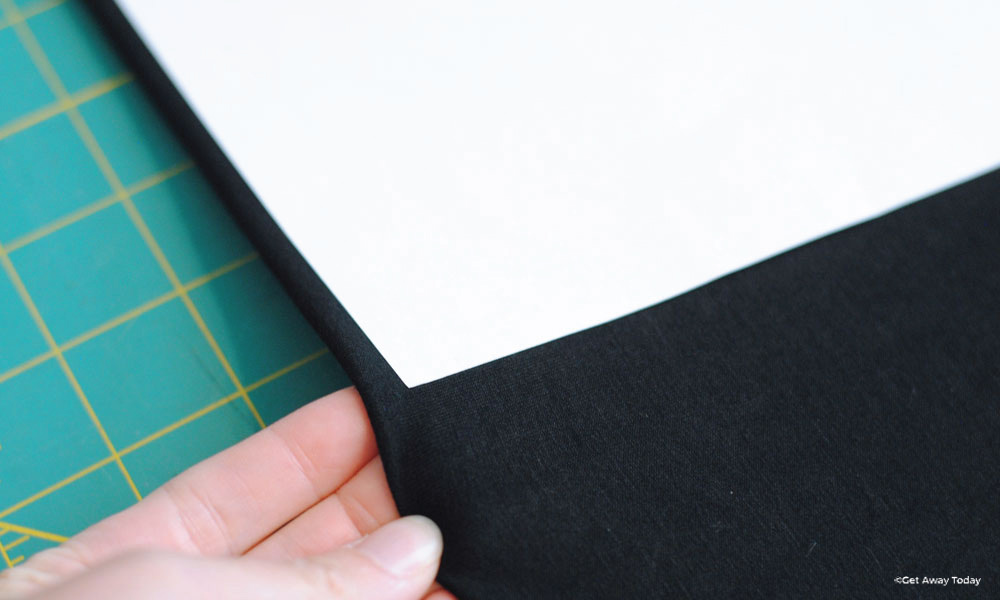
Pin it in place.
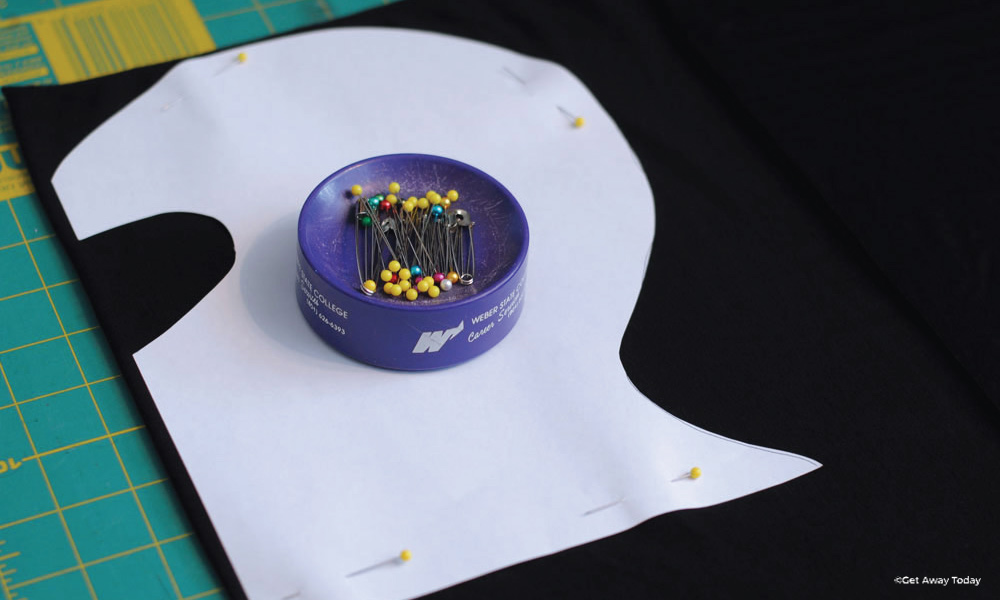
Then, cut around the edge of the pattern. Do not cut anywhere on the fold. Keep it intact.
Take the pattern off of the fabric and then put the pins back in place to keep the two fabric pieces together.
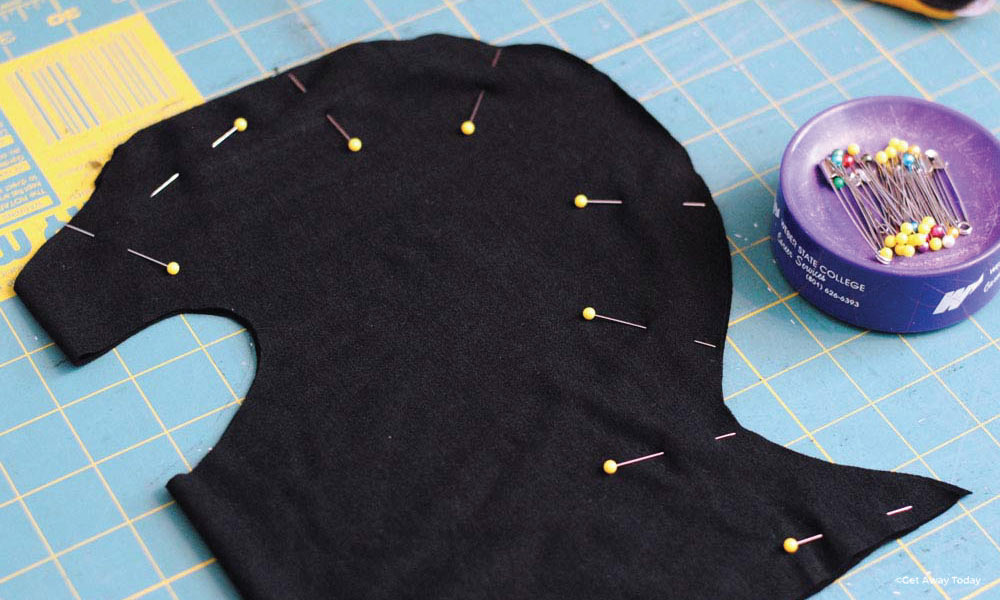
We used a serger to serge around the cut edge. If you don't have a serger then use a zig-zag stitch instead on a sewing machine. Don't pull the fabric or stretch it when you sew. Just let the machine feed the fabric through the foot on its own. Do not sew the bottom closed- that needs to stay open to go over the Ninja's head.
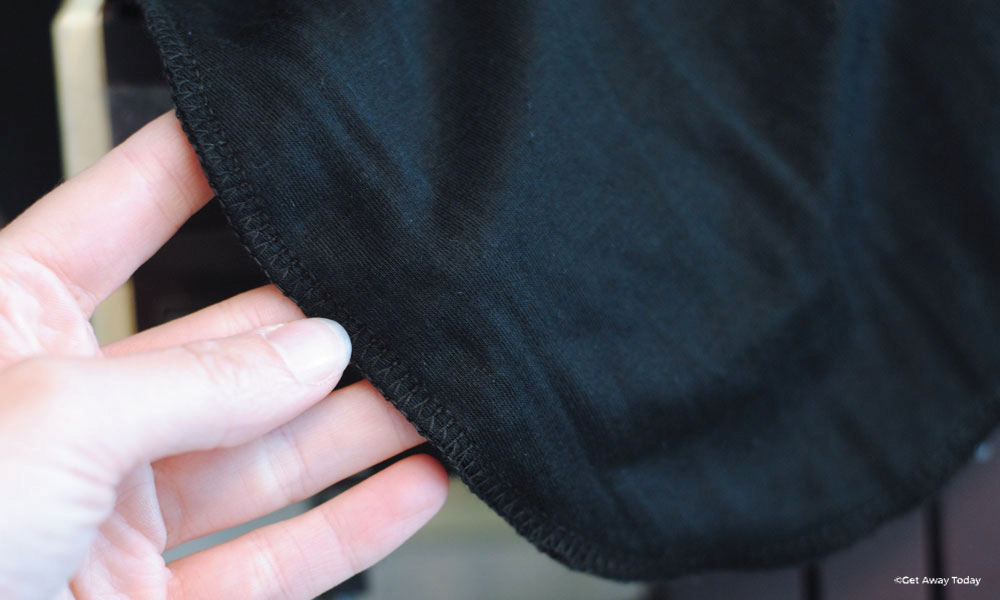
Turn the mask right side out and your mask is complete.
LEGO Ninjago Costume DIY - Green Wrap
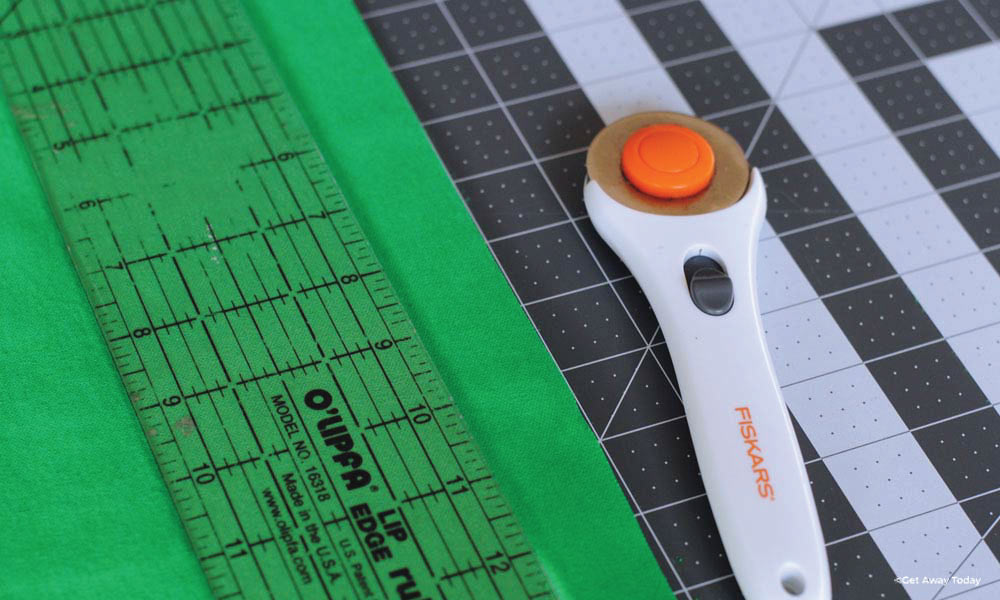
The last part of the project is to add the color wrap. Cut the green knit fabric into long 4 inch wide strips. You can sew the strips together to make them as long as you need to get them around your Ninja.
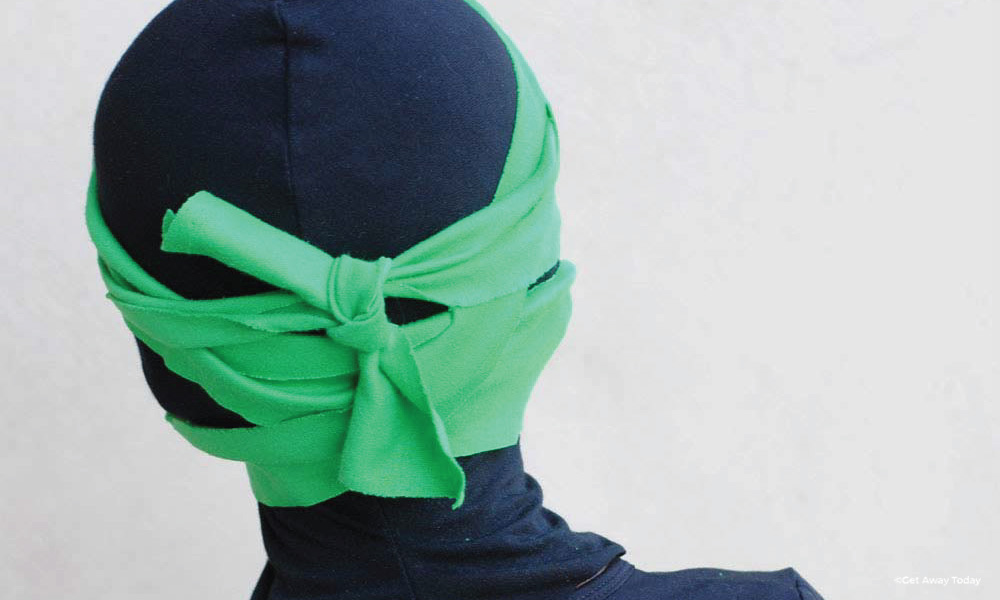
Tie the strips around the head mask and also wrap them around your little Ninja's body when it is time to get dressed up.
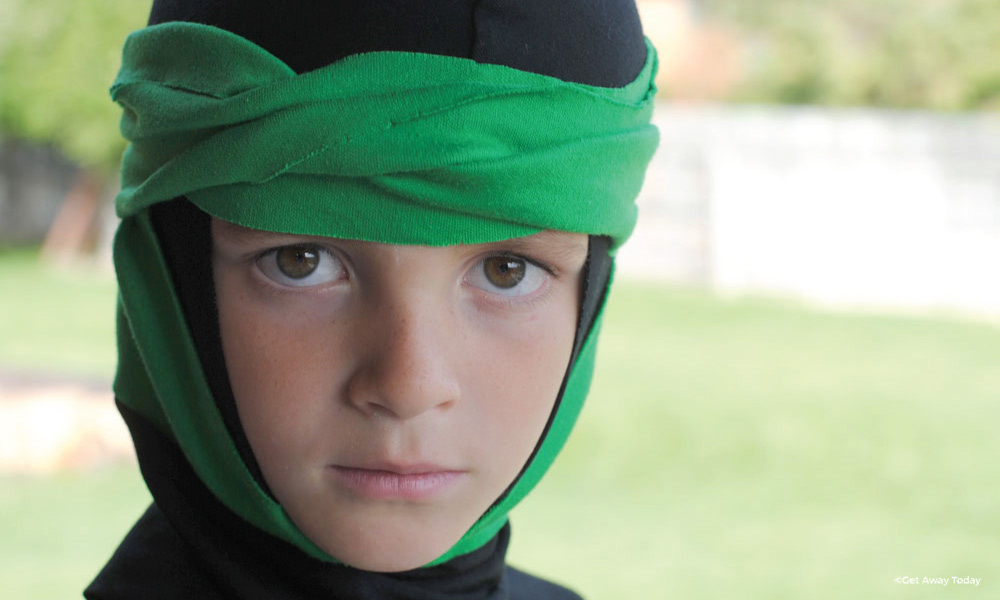
If you can't wear masks to school or to parties, the fabric is stretchy enough to pull down so it tucks under the chin.
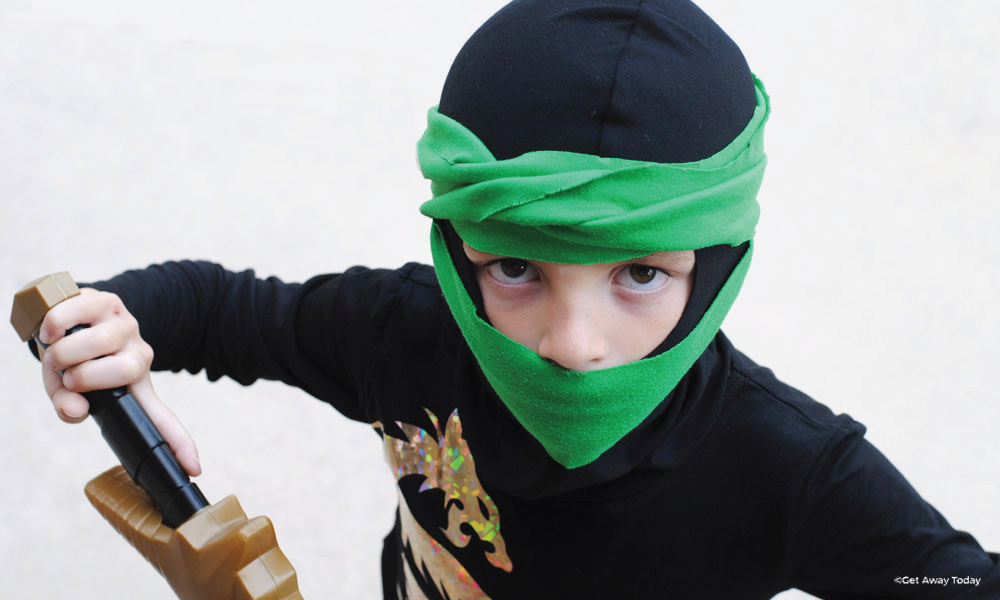
To complete the look, add a weapon of choice!
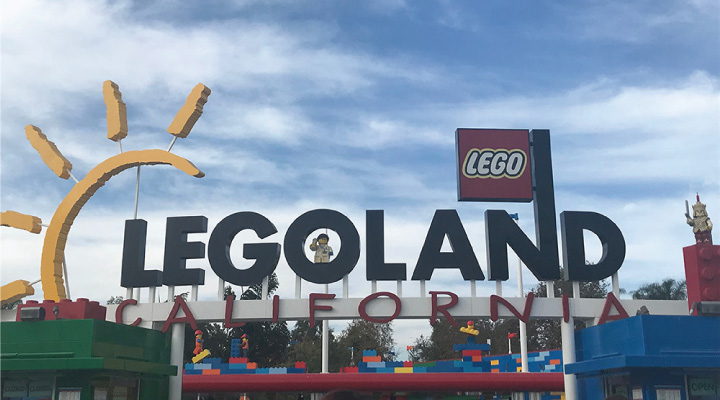
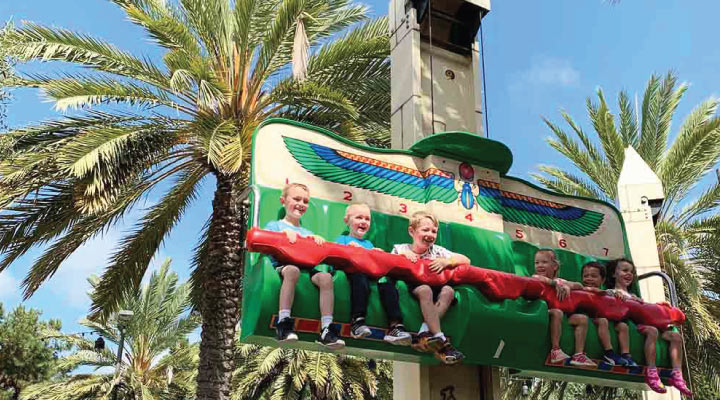
Did you know there is a Ninjago land in LEGOLAND? It's such a fun adventure for your own little ninjas! Let them tackle ninja challenges inspired by each of the Ninjago characters from the show. You can always book discount LEGOLAND tickets and hotels with Get Away Today so you can take your family to experience LEGOLAND and see some of their favorite characters. Check out all our LEGOLAND packages online, or give us a call at 855-GET-AWAY.

Join the Conversation!
Leave A Comment