
Picture yourself at the baggage claim carousel at the airport. Anxious travelers await the arrival of their precious luggage. Many suitcases look similar, and sometimes two people reach for the same bag assuming it to be their own. It can be quite awkward. Then, around the corner your bag appears, with its happy and unique Mickey Mouse Luggage Tag swaying gently as if it is saying, "Hello again! Here is your stuff!" What could make airport travel merrier than this cute and simple Mickey Mouse Luggage Tag? Especially, when you are headed to Disneyland!
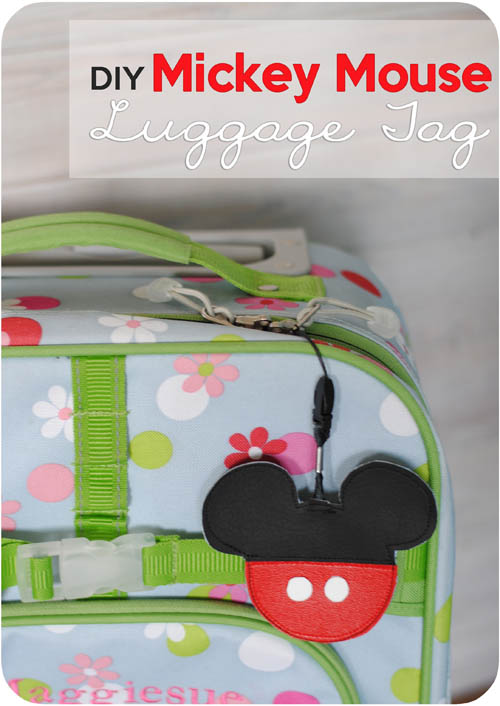
Want to make one of your own? This project is very simple and only takes about 20 minutes from start to finish.
You will need:
Red Vinyl
Black Vinyl
White Foam Sticky Sheet
Black and Red Thread
A Clip or Elastic to Attach Tag to Luggage
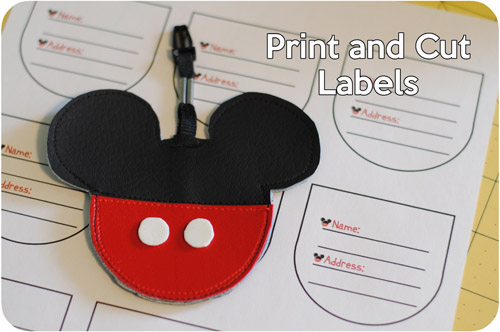
Start by printing the pattern - download here for free. Trace two Mickey Shapes in black and one Mickey Shorts in Red. You will also cut one Tag Holder from the black vinyl. Vinyl is so easy to work with because it does not fray!
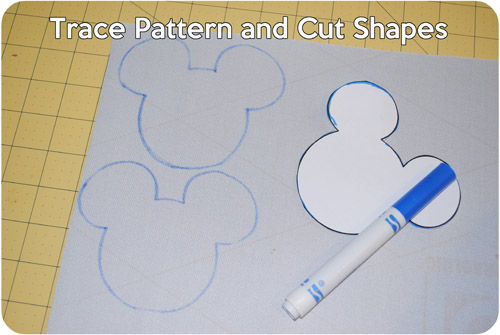
Your pieces will look like this:

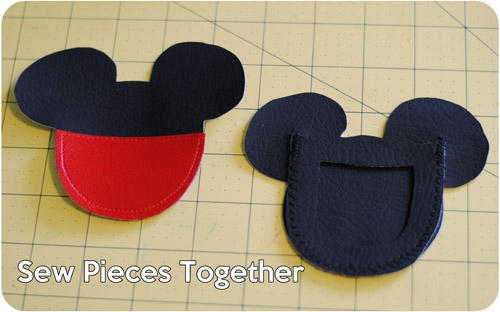
On one Mickey Mouse head attach the red shorts with red thread. Sew a tight stitch close to the edge. On the other Mickey head attach the tag holder. Sew along the outside edge starting at the top corner moving down around the bottom and up to the other top corner. Do NOT sew across the top. It will need to be open so you can slide in the information tag later.
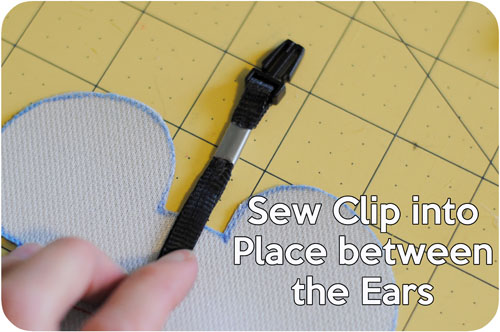
Next, add the clip or elastic to the back of one of your mouse heads. Sew a quick stitch across the clip rope to keep it in place. It will be reinforced when you sew the back and front together in the next step!
Place the two Mickey Mouse heads together with their white sides touching and sew around the entire edge with black thread.
Cut two white "buttons" from the sticky foam sheet (available at any craft store). Stick them onto the front center of Mickey's "pants." Trim around the edges to even up the front and back so they match.

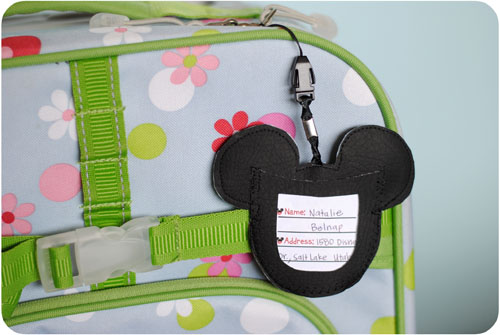
Print the luggage tag labels (download here for free) and fill in your personal information. I recommend printing on card stock and laminating for durability.
Attach the finished product to your luggage and enjoy!
If you need help getting any of our Disneyland packages on the books, we'd love to help out! Choose from our awesome Anaheim area hotels and discounted Disneyland tickets. Book online or give us a call at 855-GET-AWAY!

Check out these other great articles:
How to Never Pay a Checked Bag Fee
Easy Packing Tip for Traveling with Kids
Souvenir Savings Ideas

Join the Conversation!
Leave A CommentKelly BurkeJuly 04 2019
Hi, what are the "buttons" made out of?
Get Away TodayAugust 30 2018
Hi there! Yes, a regular sewing needle was used to sew this project.
AnonymousAugust 29 2018
Did you use a regular sewing needle to see this?