
Surprise your kids with this fun DIY Finding Dory craft with our free printable!
It isn't hard to find Dory at Disneyland! You can meet Dory and the rest of the underwater gang anytime at Disney California Adventure Park! Turtle Talk with Crush is an interactive family friendly attraction located in the Aquatorium inside the Animation Building at Hollywood Land. Guests can have a real conversation with Crush the Sea Turtle, Dory, and other bodacious dudes and dudettes from the animated movie, Finding Dory. With the use of a "hydrophone" you can ask questions and get hilarious responses from your favorite characters. Next time you are at the parks, be sure to take time to find your favorite Disney underwater characters at the Happiest Place Under the Ocean.
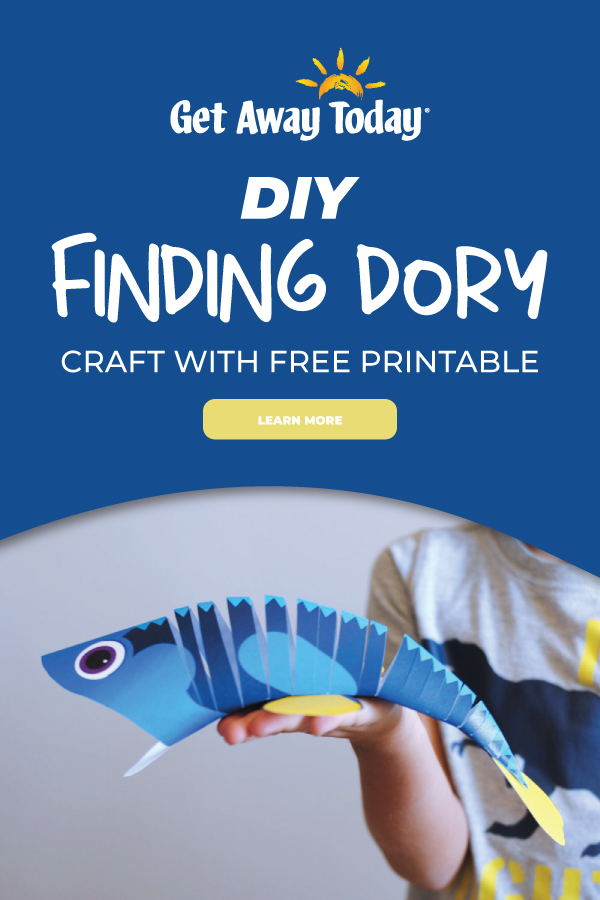
And now you can make a splash with your family with these Finding Dory paper fish at home. They are easy to create and a lot of fun to hold, because they move!

Creating Your Finding Dory Craft
To start, print the templates for your DIY Finding Dory Craft. There are two pages -- the body and the fish parts. Print them in color on regular computer paper for the best outcome.


Open all the folds. Fold the fish in half again. This is a repeat of the first step.
Cut small slits about 1/4 inch apart along the folded section. Cut from the fold towards the fold line. Make sure your cut goes all the way to the fold line. It makes the fish move best when your lines are all cut long enough. Only cut until you get to the end of the "backbone" of the fish.


Fold the fish so that the other side section is on top of the glue. It will make the fish body seem roundish.
Add the mouth piece. Put a line of glue along the bottom edge of the mouth and secure it onto the fish body.


Add the tail fin with a dot of glue. Make sure to hold it in place long enough for the glue to dry.
Now all that's left to do is have fun making your Dory swim! The backbone of the fish bends to make the fish look like it is actually moving and swimming. My kids had a blast moving it around and playing with it. I hope your family does too!

Booking Your Disneyland Vacation
Even more underwater adventure can be found at the Happiest Place on Earth! With Finding Nemo Submarine Voyage you can cruise with your favorite pals Dory, Nemo and more as you follow the story of adventure and bravery that started our love for these characters. Then heard on over to Turtle Talk with Crush to actually talk to these awesome undersea friends from the new movie and ask them everything you ever wanted to know about live in the ocean. For all of the exciting magic. book your Disneyland package online or call our travel experts at 855-GET-AWAY.
Join the Conversation!
Leave A Comment