My kids love surprises. They also love writing notes - love notes, invitations to parties, post cards from make-believe and real vacation spots, silly poems and family outing requests! They always seem to be scribbling and doodling and giving each other secret messages. A little while ago we made some felt envelops to send mail to and from our Disney characters. My kids had so much fun with that, I thought to myself, "They would love a toy mailbox to put in their room!" I immediately searched the web for a cute kid-friendly mailbox to buy. I was so disappointed. There was nothing good! So, I had to get creative. I saw a photo of a fabric mailbox and fell in love with it! Now, when my kids see that their mailbox flag is up, they know there is a surprise waiting inside for them to enjoy. It is so fun.
I was inspired for this mailbox from a post on The Giver's Log. You can go there to download the pattern. Her tutorial is great. I made four mailboxes and the process evolved with each one. I figured out what worked best for me. I will show the way I put it together here.
You will need:
24 x 24 inches of Felt
24 x 24 inches of Fabric
Two Sheets of Plastic Canvas (10.5 x 13.5 inch)
2 Pieces Floral Wire
Small Piece of Velcro
1 Purse Closure Magnet - I got ours on Amazon
Basic Sewing Supplies
Start by laying your fabric out on a cutting board with the felt on the bottom and the fabric on top. The pattern should be facing down towards the felt.
Print the pattern from the link given above. Cut each piece of the pattern out. Cut each mailbox piece out of the plastic canvas. It is actually really easy to cut through it with scissors. Lay the pieces out onto the fabric like this:
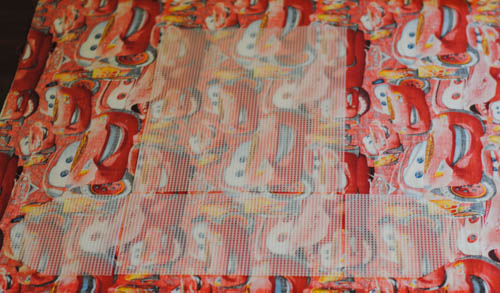
Use the plastic canvas as the "pattern" for your fabric. Measure out from the canvas about 1/2 inch and cut the shape into your fabric.
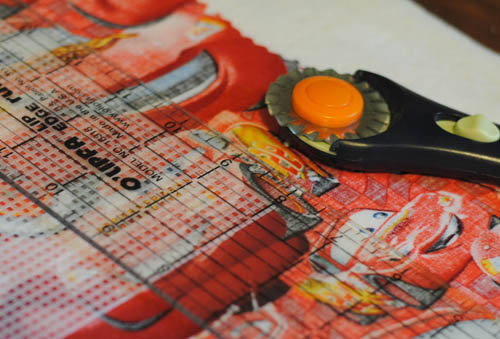
It will look like this when you are finished:

You will need to make a piece of fabric to use as the "latch." Cut a piece of felt about 1.5 inches by 5 inches. Fold it in half so it is 2.5 inches tall and sew along the edges to keep it in place. Tuck the latch into the top center of the front of the mailbox and pin it into place. It will be hidden inside until the fabric gets sewn and turned.
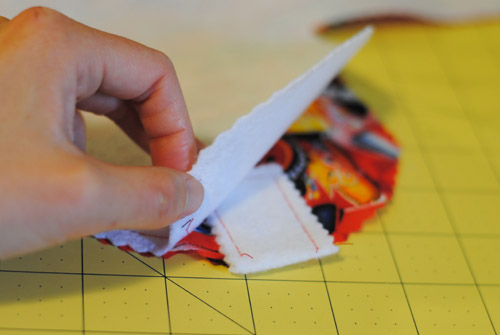
Next, pin the fabric in place and then sew the felt and the fabric together around all of the sides using 1/4 inch seam. Leave the top edge open.
Before you turn the mailbox right-side out, snip the corners with the tip of your scissors.
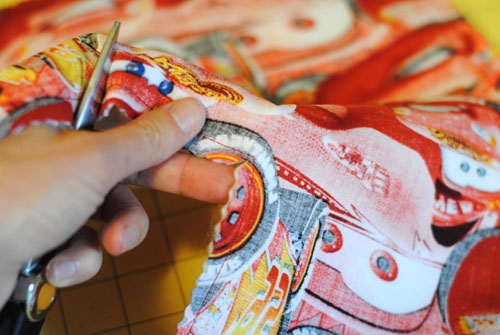
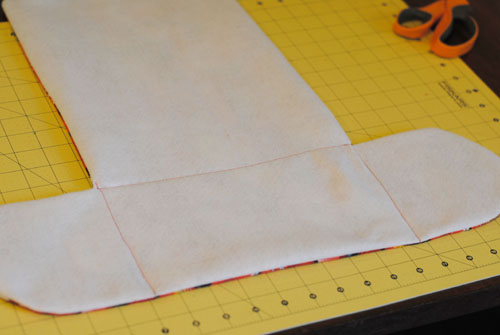
Turn the fabric and press the edges out so they lay flat. Slide your plastic canvas pieces into the mailbox. If you need to trim off a little bit of plastic to make it fit, that's okay. Then sew lines to hold the plastic pieces in place. Like this:
Insert floral wire along each long side. The wire gives the mailbox stability and helps to hold the shape. I secured the wire in place with a few holding stitches. Afterwards, I decided it would have been easier to just sew along the inside of the wire with my machine to make a "pocket." You can do it either way. If you try the sewing machine method, leave a message in the comments to let us know how it goes!
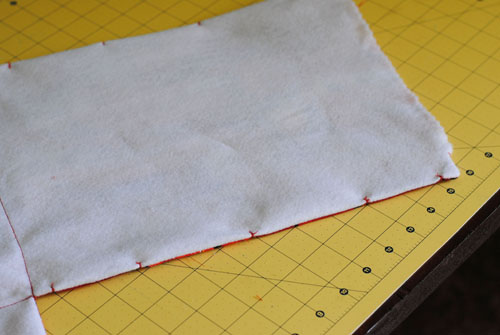
Tuck the fabric in on the open seam and sew the top closed.
To finish forming the mailbox frame, you will need to hand sew using the blanket stitch. Don't fear! This was the first time I have ever done this type of stitch and it worked out fine. I watched this You Tube video to lean how.
Fold the long rectangle piece over to form the arch of the mailbox. I just taped it in place with some washi tape to hold it steady while I sewed. It worked great!
Then, fold the back of the mailbox into place and sew it. It will look something like this. Remember, this is the first time I have done this stitch, so it isn't perfect. But, it works right? Don't be intimidated by this step.
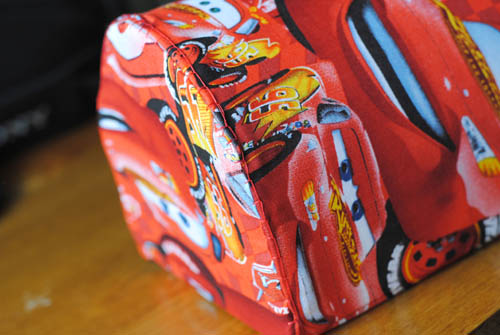
Now, it's time to make the flag. Really, the flag makes this mailbox! You should have a piece of plastic canvas cut for the flag. Place that on top of a piece of felt. Poke the male end of the purse magnet into the fabric and plastic and secure it in place. Leave about 1/4 inch edge around the plastic and cut the excess felt off. Then sew that onto another piece of felt. Trim the edges. The process is shown here:

The second half of the purse magnet goes on the mailbox. Test where you want the flag to be and then mark on the mailbox where the magnet should attach. Poke two slits with a pointy knife where the magnet inserts into the side of the mailbox. Put a little bit of fabric glue or modge podge here to keep the fabric from fraying.
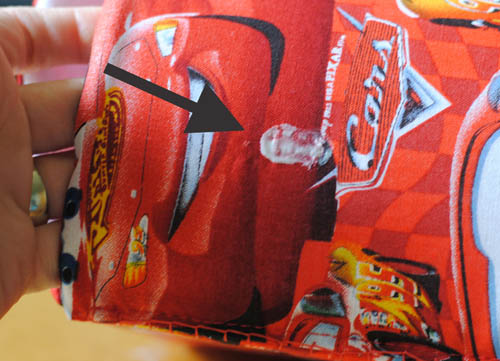
Poke the magnet through the holes and secure it in place on the inside.

If your flag is slipping, (a tip AmberLee from Giver's Log suggested) is to glue a little piece of fabric onto the flag magnet. I did that and it worked great. It creates just a little bit of friction so the flag doesn't slide on its own.
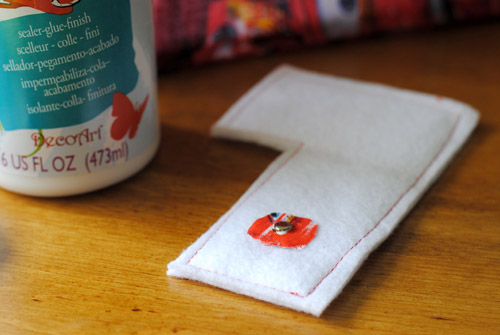
The final step is to add Velcro to the latch. Sew a small piece onto the felt latch and then the other half of the Velcro onto the top of the mailbox body. That will keep the door closed tight.
That's it! You now have a fabric mailbox that is sure to deliver countless fun surprises for your family - maybe even a surprise Disneyland vacation!

If you want to make some matching fabric envelopes like we did, you can find the tutorial here.

Not only will your personal mailbox be a great way to surprise your kids with a Disneyland vacation, it is a great way to keep some vacation magic alive after your trip! Grab some postcards while you're on vacation and keep them on hand to randomly surprise your kids with messages from all the friends they met at Disneyland.
And Mom and Dad don't have to wait for the mailman to deliver Disneyland specials to your mailbox - because Get Away Today always has the best deals! Book online or call our Disney Experts at 855-GET-AWAY. Then, check your mailbox for your family's Disneyland vacation package. It's the best thing you'll ever get in the mail!
Check out these other great articles:
Reusable Envelope Tutorial for Letters from Disneyland
DIY Road Trip Pillowcase Cover
20 Things to Make the Most of a Summer Day at Disneyland


Join the Conversation!
Leave A Comment