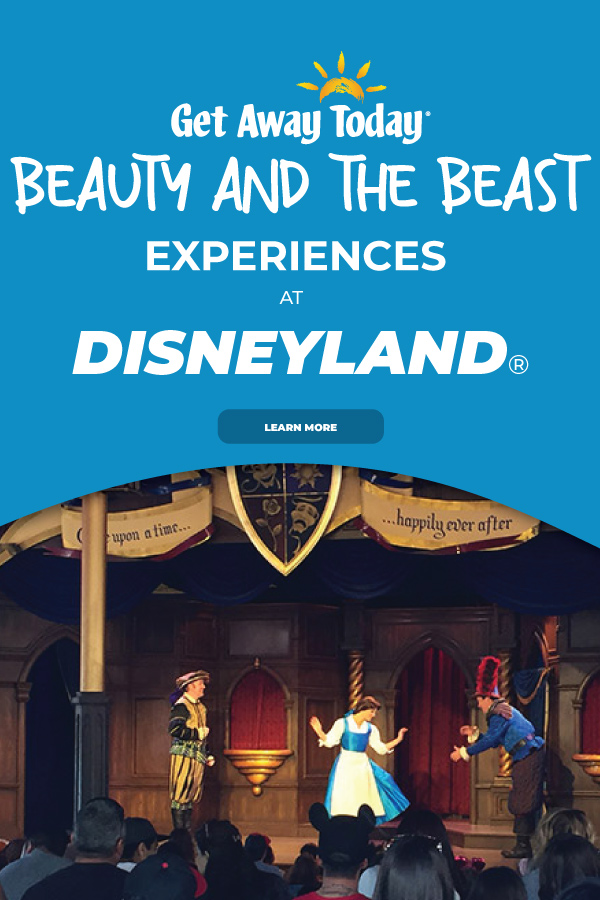
Enchantment is in the air at the Disneyland Resort year-round! Find out all the best Beauty and the Beast experiences in Disneyland that you can enjoy right now.
Beauty and the Beast is a timeless tale revered by all ages. From the animated classic to the live action remake, all ages seem to adore this “tale as old as time.” If you have a Beauty and the Beast fan in your group or family here are our favorites to experience at Disneyland Resort.
Beauty and the Beast’s Red Rose Tavern
Try the Grey Stuff. You don’t have to rely on the dishes to tell you how delicious this treat is now!
You can visit the Red Rose Taverne in Fantasyland to try foods inspired by Beauty and the Beast. Red Rose Taverne is open for breakfast, lunch and dinner.
For breakfast we recommend:
- Gourmet Breakfast Sandwich. Herb blend and Creme Fraiche Egg, Maple Butter Spread, Muenster and crispy Bacon on a Brioche-style Bun, served with Taverne Potato Bites.
- Bonjour! Breakfast. Scrambled Eggs, Taverne Potato Bites, choice of Hickory-smoked Bacon or Sausage, served with a Petit Croissant.
- Royal Chiffon Pancake. Served with Guava-Strawberry Sauce and choice of Bacon or Sausage.
- Chicken Cordon Bleu Sandwich. Fried Chicken Filet, crispy Prosciutto, Swiss Cheese, Spinach and Dijon Mayo on a Toasted Bun, served with Cuties® Mandarin Oranges or Taverne Potato Bites.
- Petales de Pepperoni Flatbread. Artisanal Pepperoni and Classic Pizzaiola Sauce with Mozzarella Cheese.
- "Size of a Barge" Potato Bites. Taverne Potato Bites topped with Cheese Sauce, Ground Beef, Caramelized Onion, Special Sauce, Rye Croutons and Fresh Chives.

Shop Beauty and the Beast Souvenirs
Explore this provincial town for the best Beauty and the Beast souvenir that will last longer than the Grey Stuff!
We love Beauty and the Beast Disney pins for keepsakes or trading and find the best selection just around the corner from Fantasyland in Frontierland’s Frontier Trading Post. You can also find pins throughout the resort shops, especially on Main Street.
You can also find Beauty and the Best tumblers, sippers and mugs inside Red Rose Taverne to purchase and take home.
Meet Gaston in Fantasyland
This may just be one of the manliest Beauty and the Beast experiences in Disneyland! While strolling through Fantasyland, keep your eyes peeled for this villain.
He’s been spotted preening around the taverne quite a bit lately. If you do see Gaston, don’t forget to ask him to flex his biceps for you. If you're really lucky, you may catch a glimpse of Belle being escorted by the Beast himself through Fantasyland as well!
Meet Belle During a Show or at Fantasy Faire
Watch a hilarious retelling of Beauty and the Beast at the Royal Theatre in Fantasy Faire. Here you’ll find Mr. Smythe and Mr. Jones performing their version of this classic love story.
Every princess and prince will love watching the story of finding beauty within come alive before them. Make sure to check the Disneyland app for show times so you don't miss one of the best Beauty and the Beast experiences in Disneyland.
You might also be able to meet Belle at the Royal Hall in Fantasy Faire. Princesses do rotate throughout the day so you never know who might be there to greet you.

Snack Like a Beast
We all know Disneyland is best experienced while snacking your way from one ride to another. Once you’ve posed with Gaston and spent time at the Royal Hall, you’ll be ready for a snack.
For the most twisted of treats, stop by Maurice’s Treats cart in the Fantasy Faire Courtyard. At Maurice’s Treats, you’ll be able to try the new garlic cheesy bread, sweet treats and drinks. This is the perfect snack to grab while waiting in line to meet your favorite Princesses.
A Disneyland vacation is always the most magical when you know you got the best price. The good news is that you can get the best price and service on your Disneyland vacation by booking with Get Away Today. Book any of our Disneyland packages online or by calling our experts at 855-GET-AWAY.


Join the Conversation!
Leave A Comment