
If you have a trip planned to Disneyland Resort or Walt Disney World, you’ll want to make sure you have every detail ready for your trip - including your hair accessories! You can make your own Minnie Mouse Scrunchie with this easy tutorial and pattern.
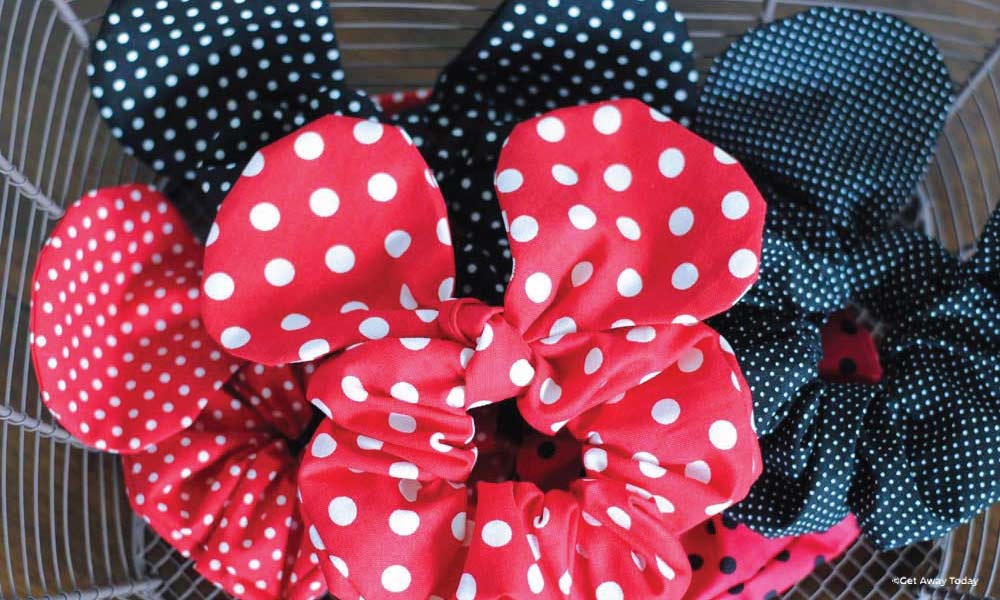
Scrunchies are back and better than ever, and these cute Minnie Mouse Scrunchies will be perfect for your upcoming vacation, or for a little bit of Disney magic at home.
DIY Minnie Mouse Scrunchies
One thing we all know for certain is that Minnie Mouse has serious style. We know this cute accessory in her name would make her proud. Ready to get sewing? Don’t be scared if you aren’t a sewing pro, these are simple and we will show you step by step how to create the perfect scrunchie.
Minnie Mouse Scrunchie Supply List:
Don't be nervous to make these cute scrunchies. It looks like a lot of steps when you read through the tutorial. But, it really isn't very hard! We wanted to show every part of the process to make it easy to follow. Each one should take about 20 minutes tops, even for a very beginning level seamstress.
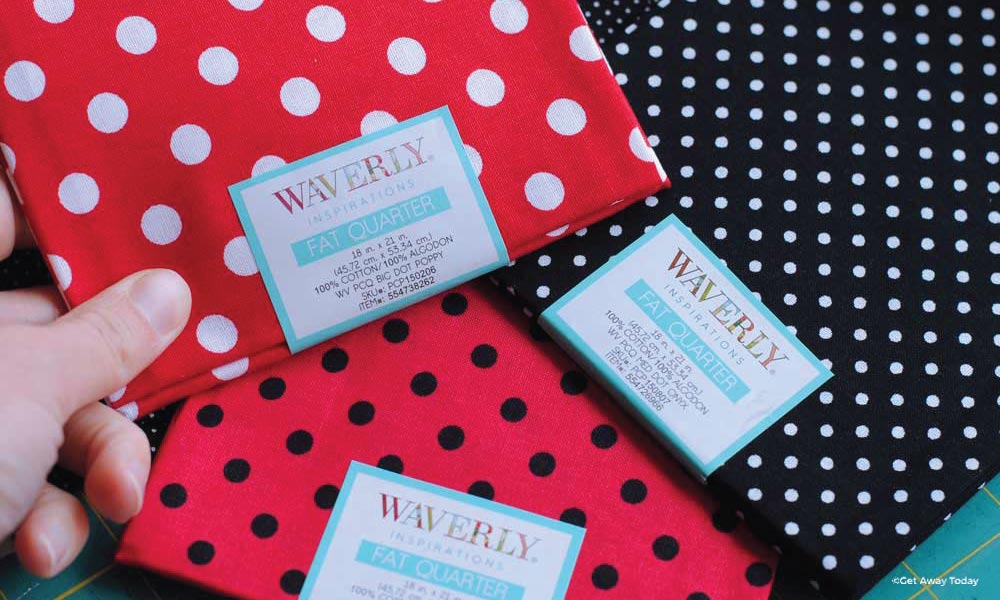
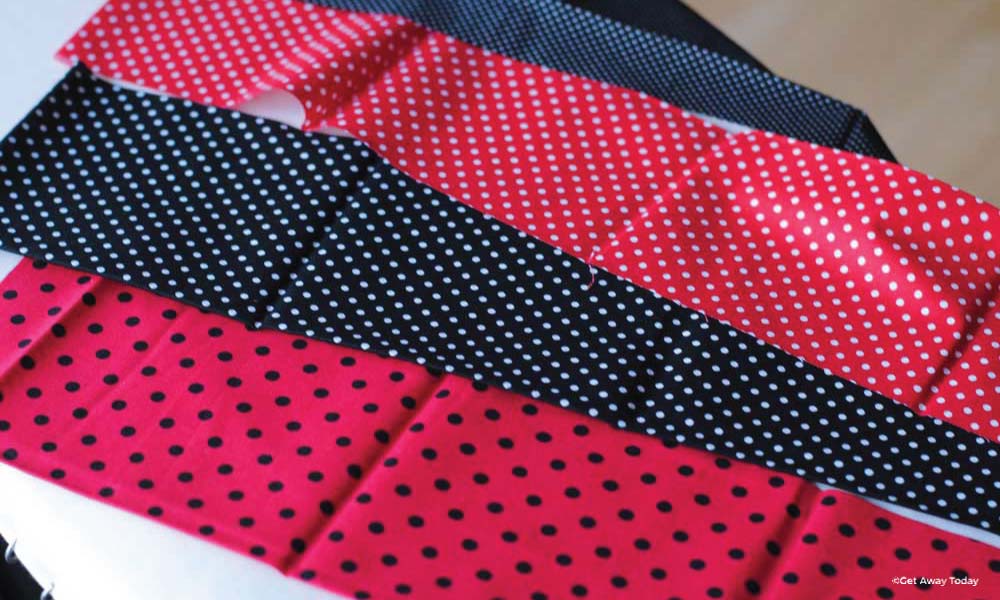
I used Fat Quarter fabric. You can buy a Fat Quarter on Amazon or your local craft or fabric store. Fat Quarters are approximately 18 x 21 inches. We used polkadots, but you can use any fun or Disney fabric you’d like!
Minnie Mouse Scrunchie - Getting Started
Open the Fat Quarter and then fold it in half so the fabric is approximately 10.5 inches across. Then, slice a strip off the end that is 5 inches wide. It will open up to be 21 x 5 inches.
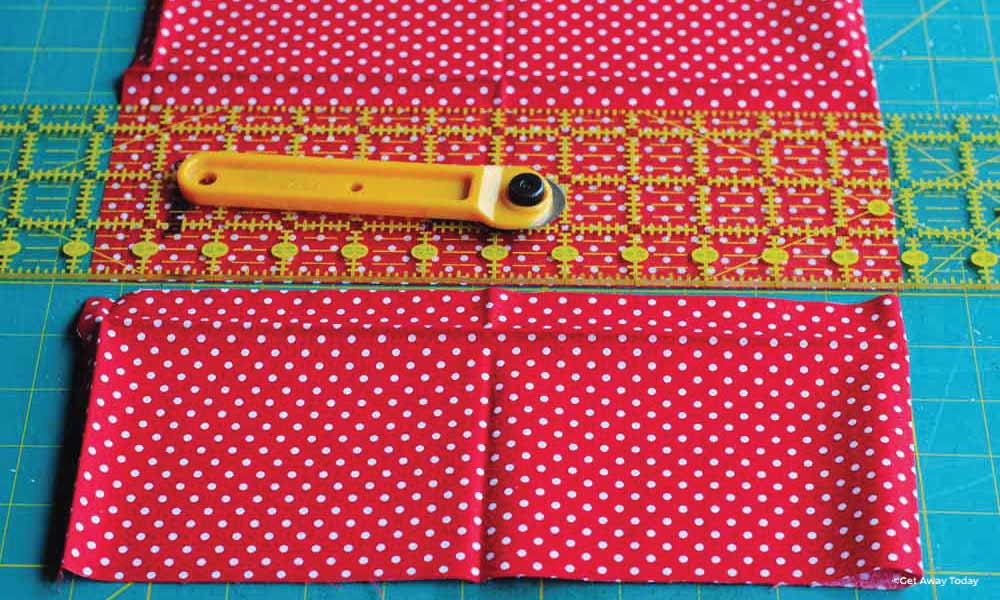
If you are making multiple Minnie Mouse Scrunchies then cut all of the fabric strips at this time. Iron them to get all the wrinkles out. The iron is always a good friend to have around when sewing! Don't skip the ironing steps.
Minnie Mouse Scrunchie - Fold the Fat Quarters
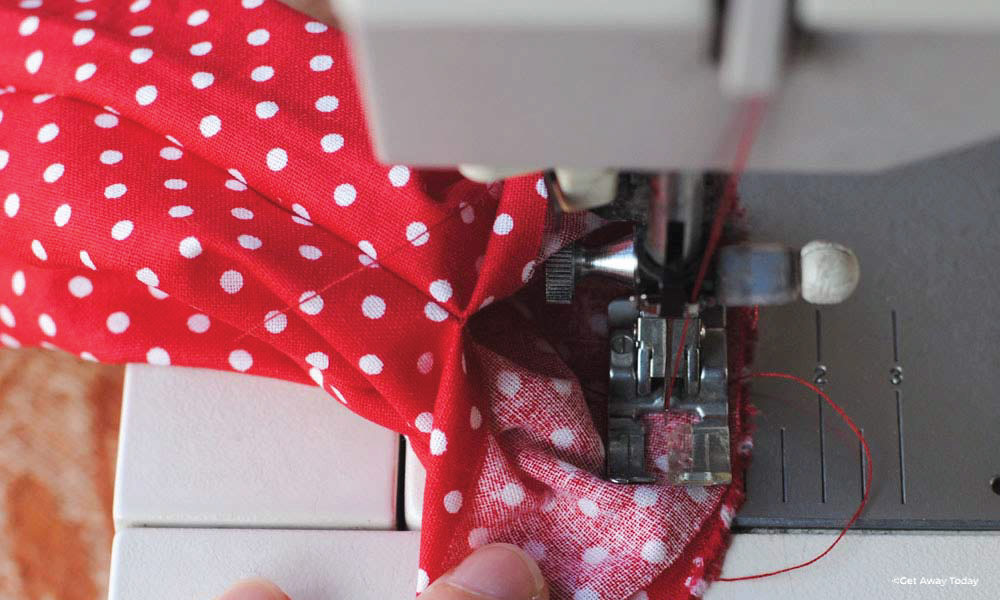
Fold the strip in half with the right side of the fabric facing each other. It should be 2.5 inches wide and 21 inches long. Sew the open long edge of the fabric together. I used a 1/4 inch seam allowance. Make sure to start sewing about 1.5 inches down from the top and leave a 1.5 inch section at the end as well. You need to be able to combine the ends together later and it won't work if you sew clear to the ends of the fabric.
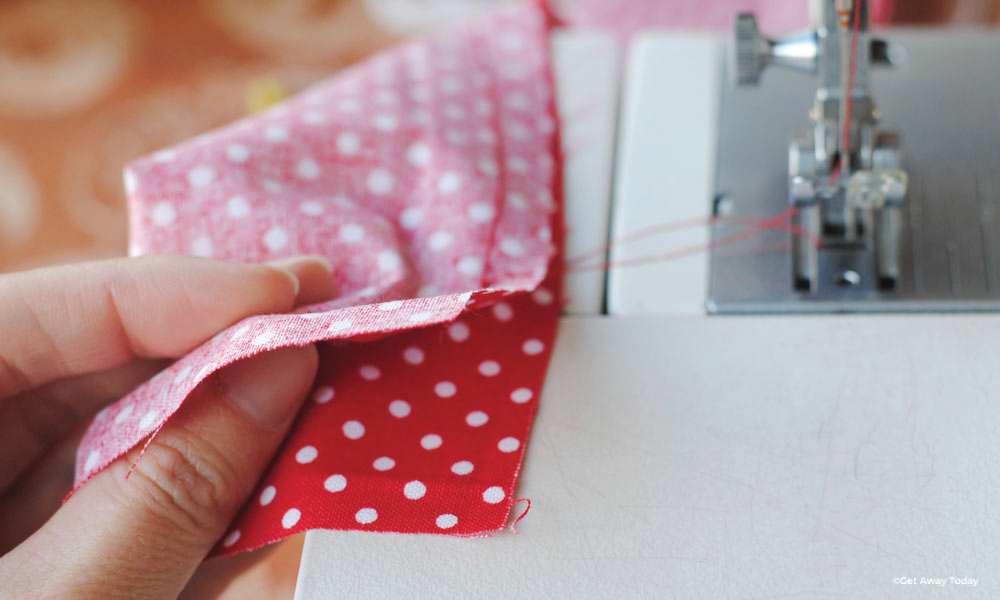
Next, turn the fabric tube right-side-out so the seam is on the inside of the tube. I use my finger to grab in the hole and pull the fabric. It is pretty easy. There are also fancy scrunchie turners available online if you plan on making a whole bunch! You can also use a chopstick or the eraser end of a pencil to help you turn it right side out.
Minnie Mouse Scrunchie - Iron, Fold and Sew
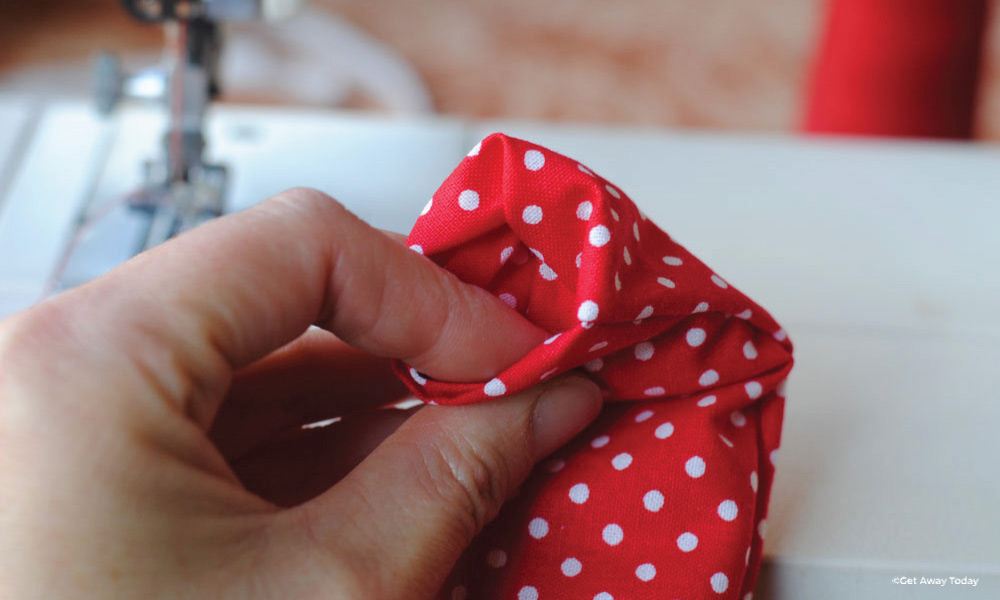
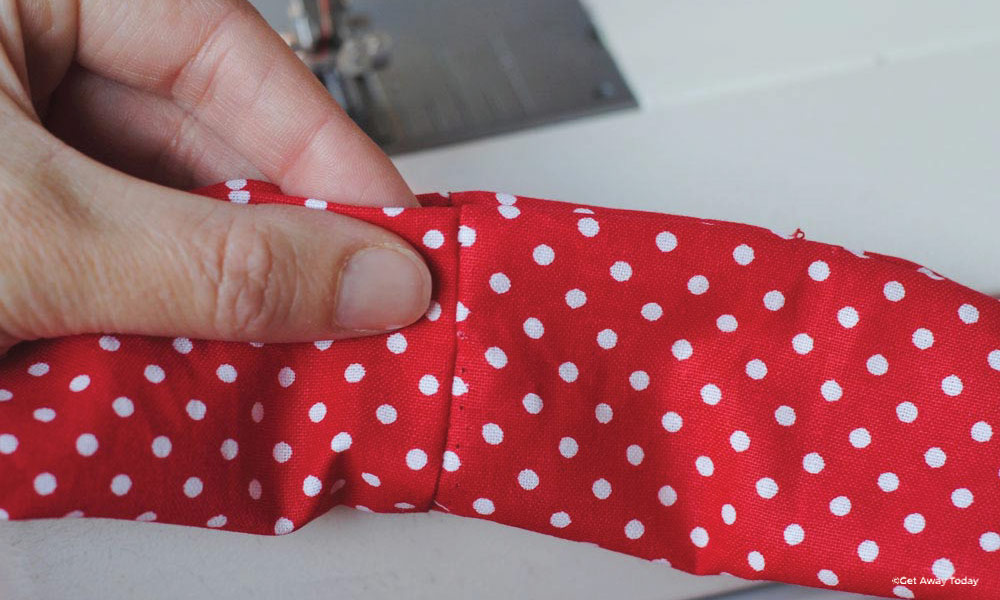
Feel free to press your project with the iron again if it looks wrinkly. Then, fold the tube in half. The two open ends should be laying on top of each other. You need to sew the edges together so that the tube turns into a loop. Place the right sides of the fabric together.
Start on one end and sew along the edge using a 1/4 inch seam allowance again. You can take this part slow. Just sew a little bit and then get the fabric lined up and then do a bit more. It’s like you are sewing in a little circle.
It will look like this when you are finished. You’ll have a hole at the top where you will put in the elastic.
Minnie Mouse Scrunchie - Inserting Elastic
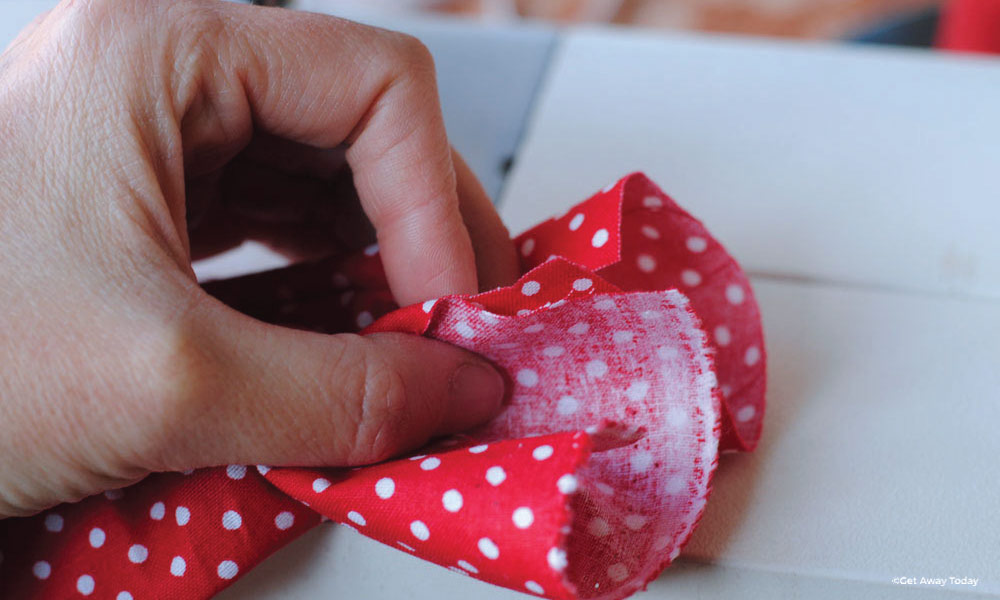
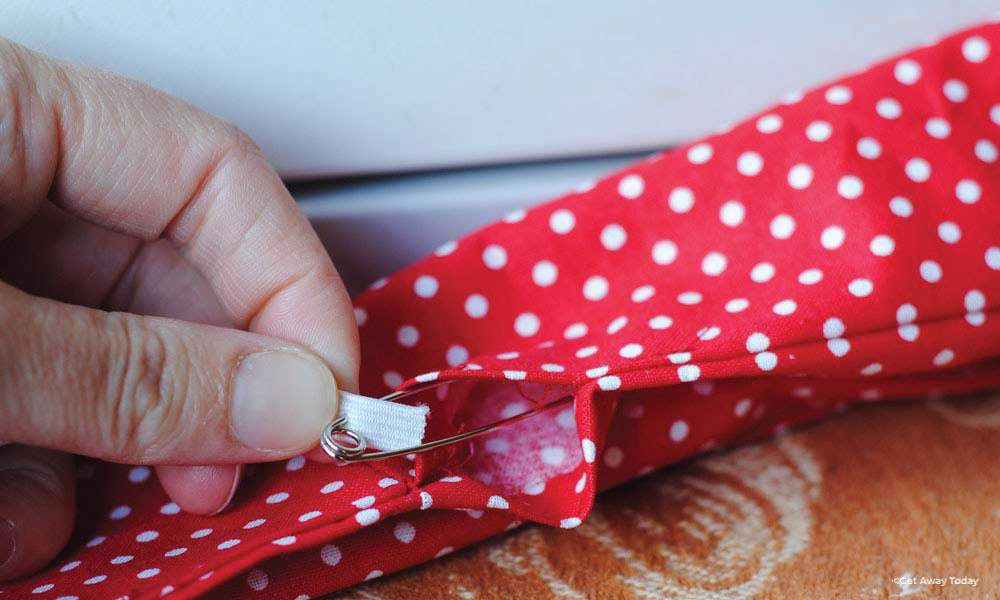
Now, cut a piece of 1/4 inch stretchy elastic to measure 9 inches. Hook one end of the elastic to a safety pin and connect the other end of the elastic to the fabric along the opening in your loop. Feed the elastic through the inside of the scrunchie using the safety pin as your "needle." It should gather the loop of fabric into a scrunched up circle...hence the name scrunchie!
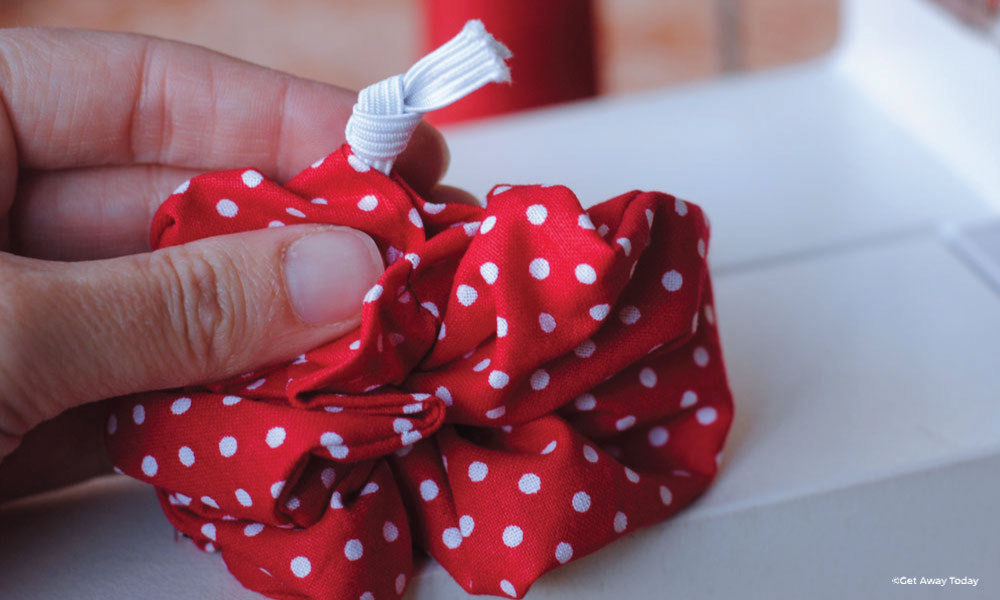
Hold both ends of the elastic together and then tie them in a knot. Just wrap the elastic around your finger and thread the ends through. Pull the knot tight!
Tuck the elastic inside of the hole in the Minnie Mouse Scrunchie. Then, close the hole with the sewing machine. Fold the raw ends so they are tucked inside and then stitch the hole right along the outside edge. It should look just like a scrunchie. But, since we are making a Minnie Mouse Scrunchie, there is still work to be done!
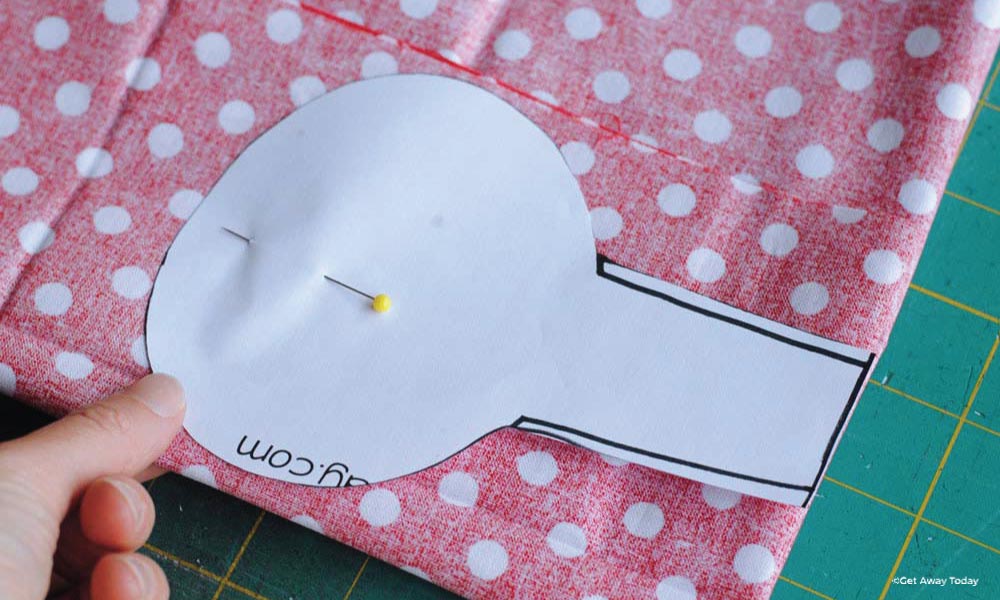
Minnie Mouse Scrunchie - Free Pattern
Download and print the pattern HERE. Cut around the pattern so you only have the part that looks like half of a bone. You will need two cut pieces of this pattern to make the ears for the scrunchie.
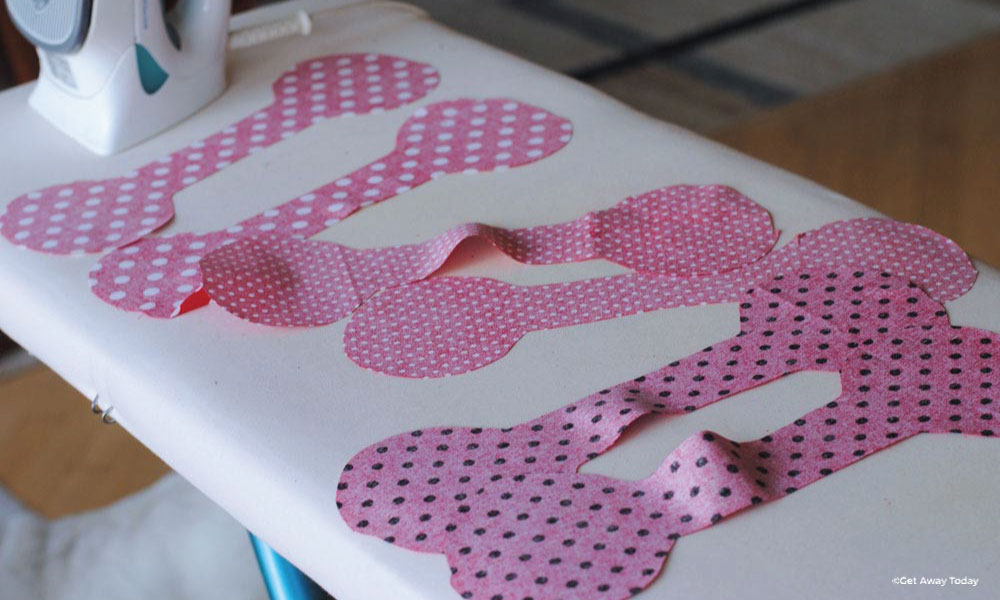
Fold the leftover fabric from your Fat Quarter in half (right sides facing in) and then in half again the opposite direction. The "stick part" of the pattern should be placed along the fold. The goal is to end up with two full ear pieces when you unfold the fabric!
They look like this! Iron them nice and flat.
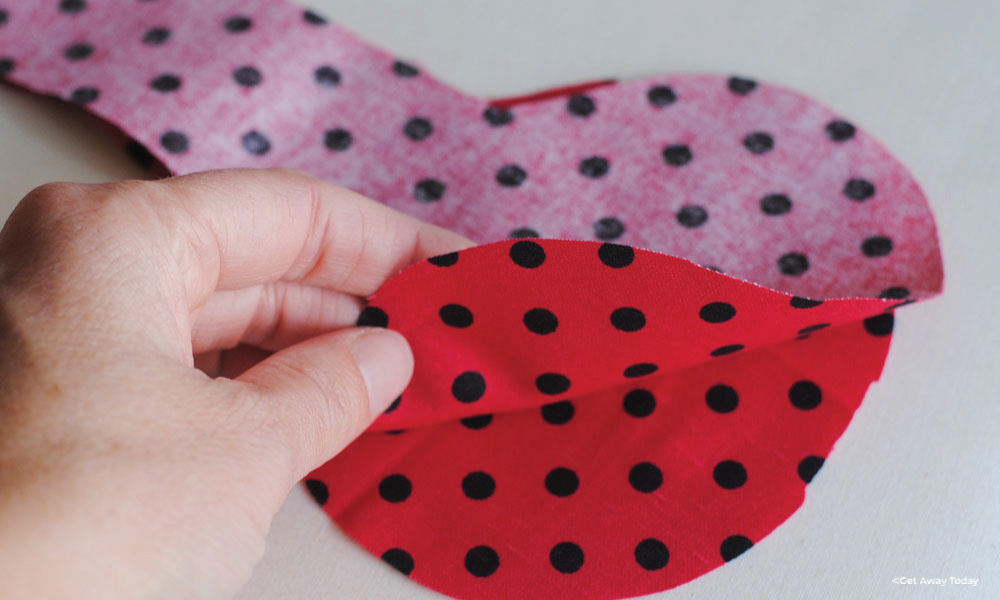
Place the two pieces together so the right side of the fabric is on the inside.
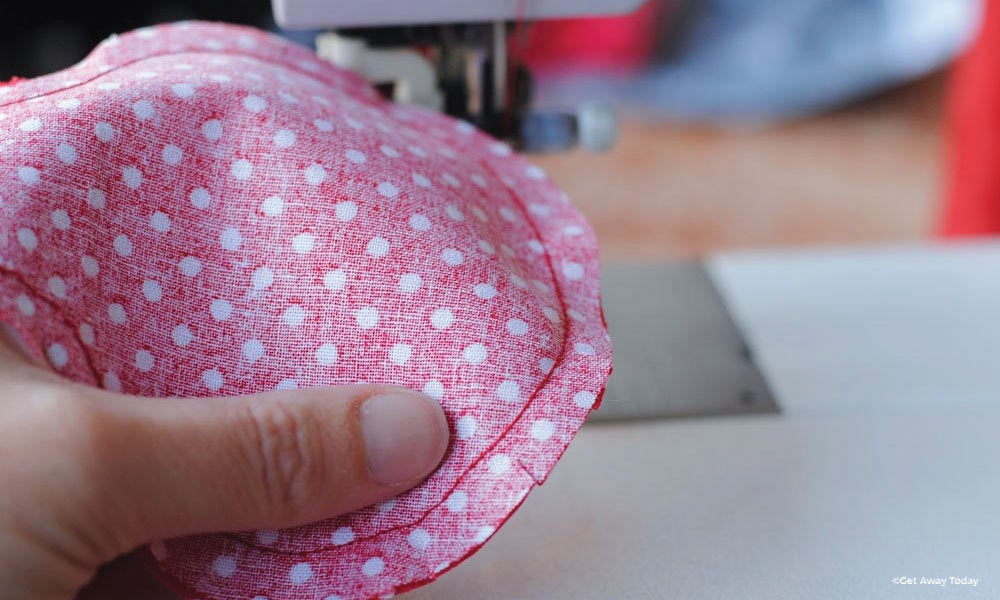
Minnie Mouse Scrunchie - Sewing Together
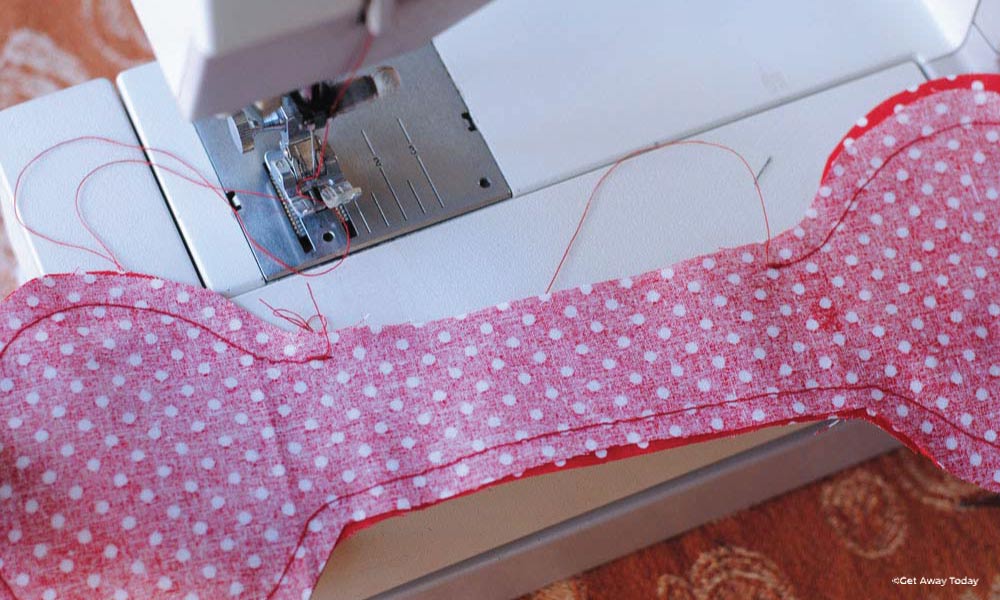
Then, use some straight pins to secure them together so they don't slide when you start to sew. Sew around the "bone" starting at the straight edge just before the rounded ear. Sew around the ear, along the entire straight edge and around the other ear until about 1 inch of the straight edge that you started on. You need the majority of one side to be open so you can turn it right-side-out.
Before you turn the fabric, use your scissors to cut little snips from the edge of the fabric towards the thread line on the rounded parts of the fabric you have just sewn together. Make sure not to cut through your stitch! This will help the circle part of the ear lay flat when you turn it.
Then turn the ears so the right side of the fabric is showing!
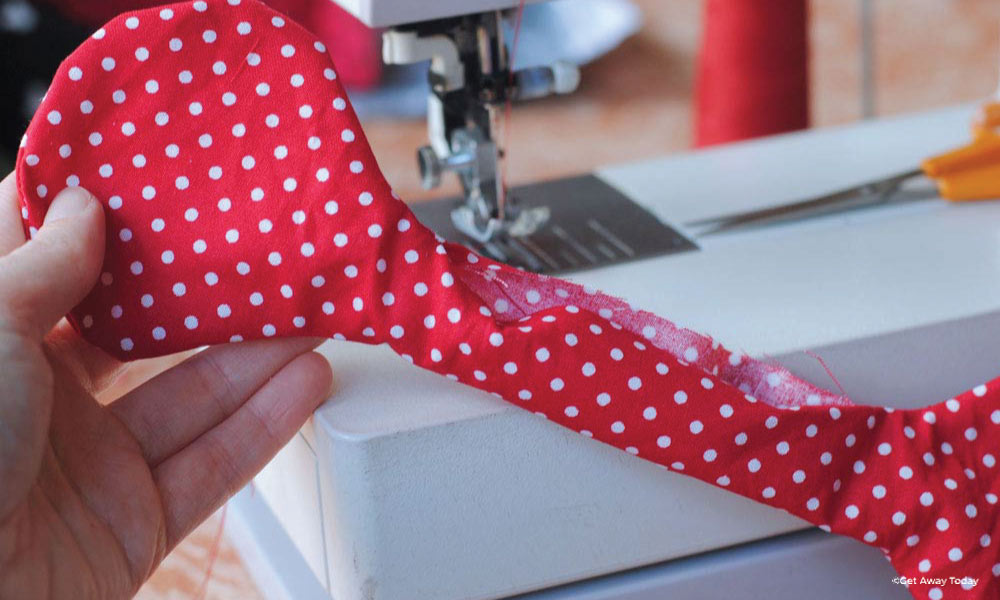
Tuck the fabric along the open seam under so that the rough edge is hidden and sew it closed. You can use your same pencil or chopstick to push out the edges of the ears to make them as smooth as possible. Give it another run with the iron.
Then, slide the Minnie Mouse ears piece through the scrunchie hole and tie it into a knot. I covered the spot where my seam was on the scrunchie.
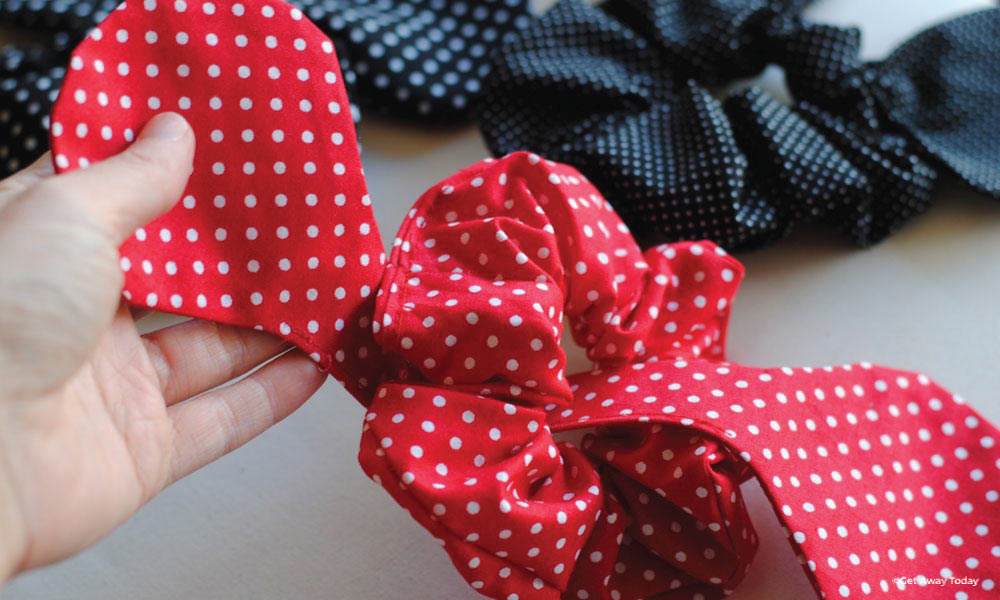
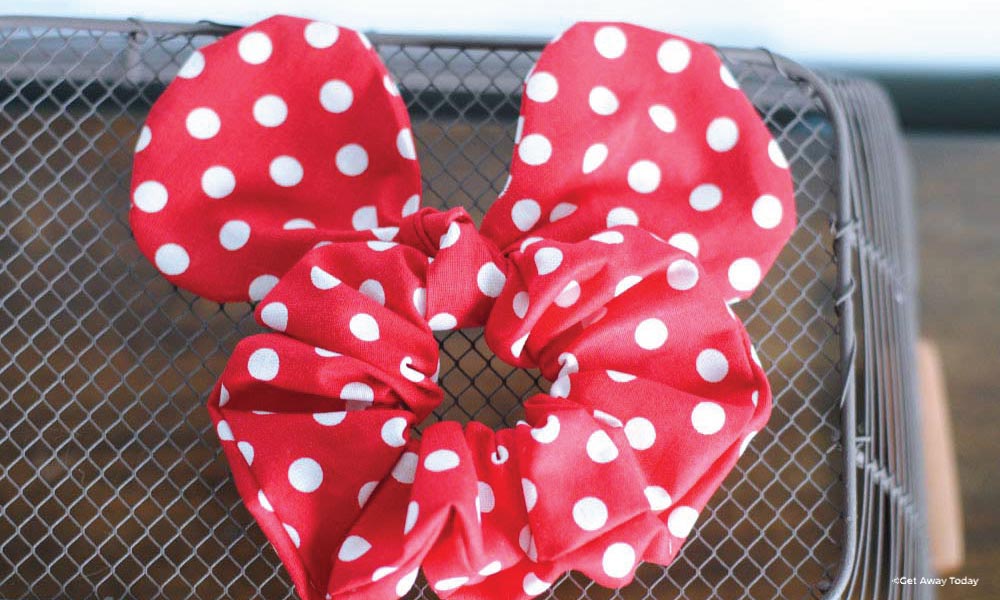
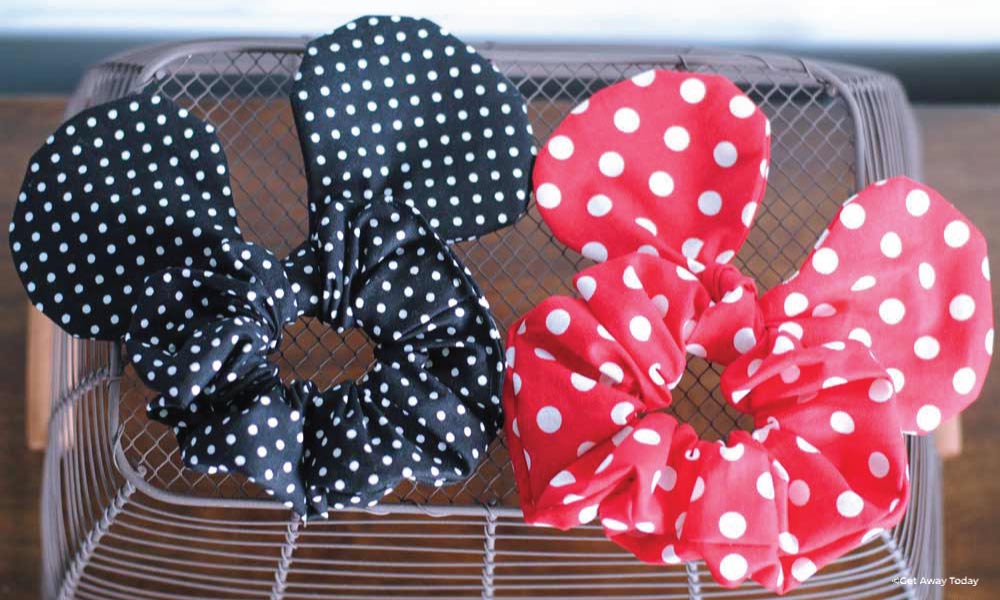
This is how they should look when they are finished! So cute, and they aren’t even in your hair yet.
Minnie Mouse Scrunchie - Styling
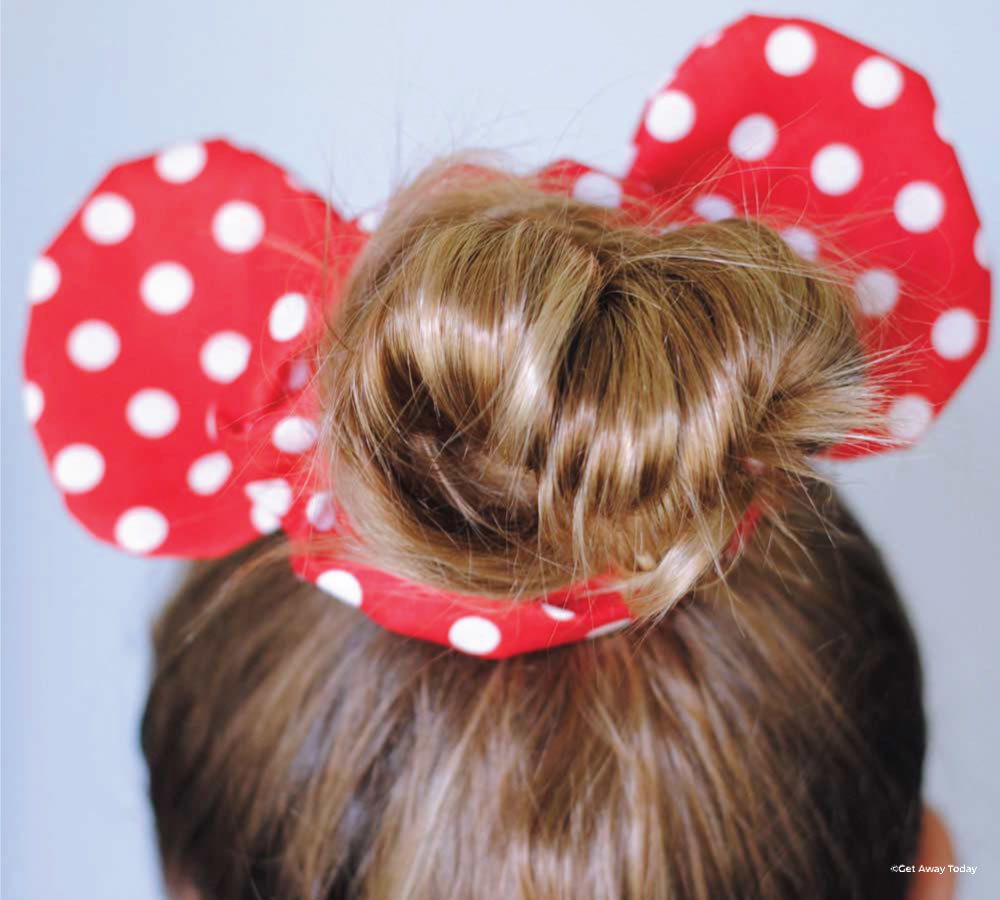
You can wear your Minnie Mouse scrunchie in several different ways. We wrapped it around a high messy bun with the ears facing up to have a classic Minnie Mouse look.
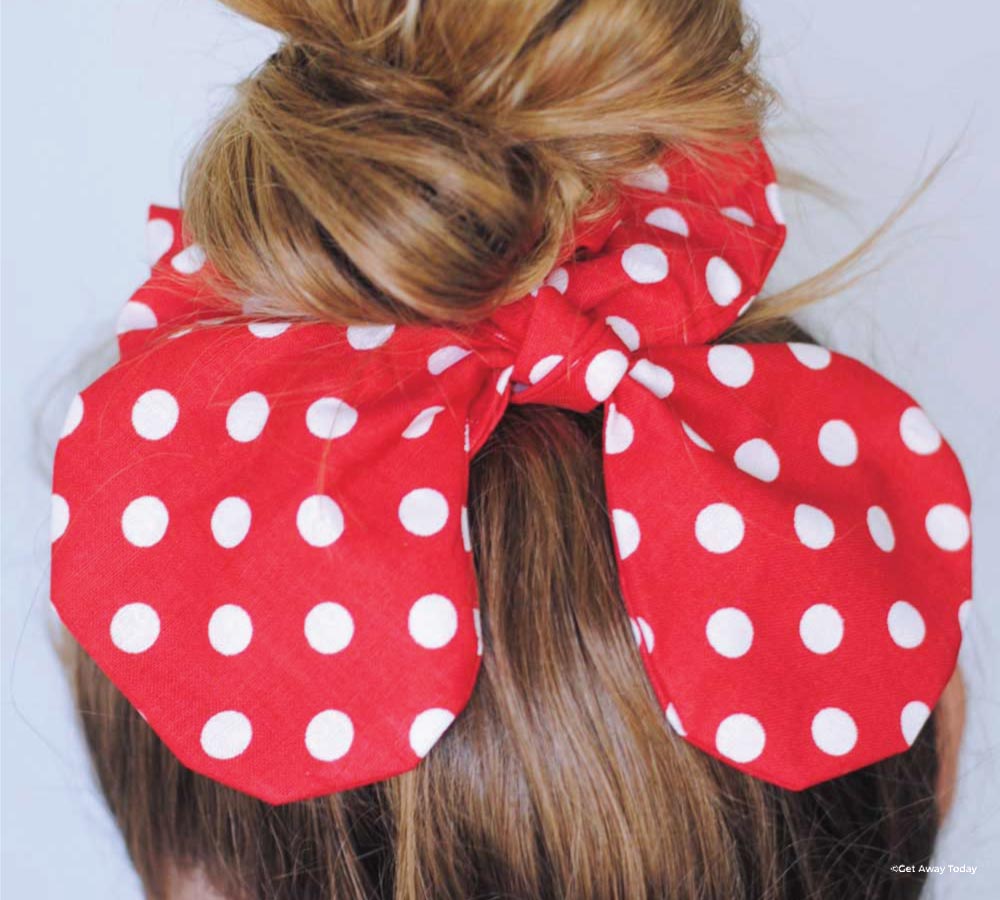
Or, you can point the ear portion down under the bun. This looks a little less “Minnie”, but it still looks so cute.
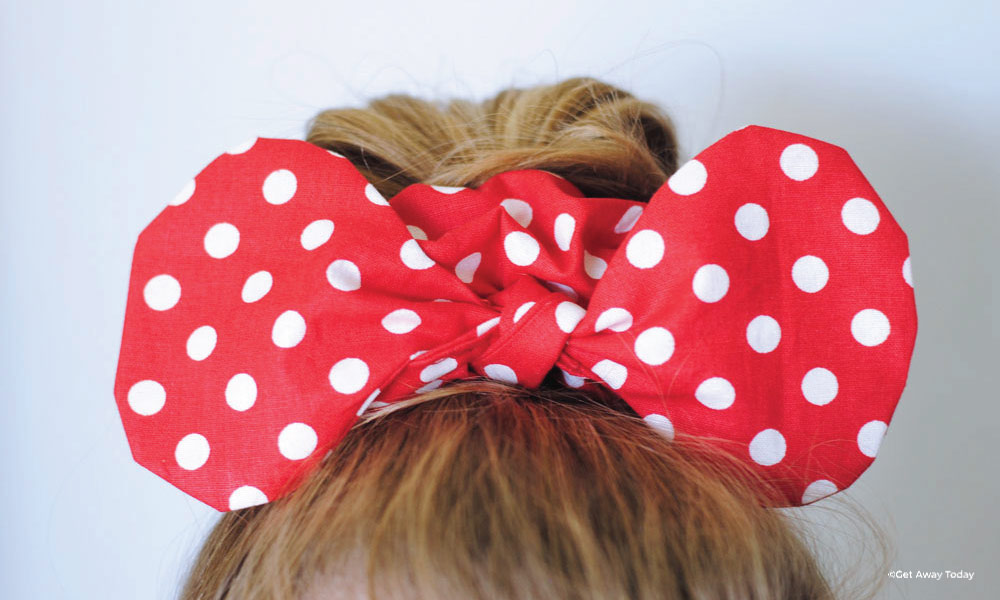
Or, wear the scrunchie in the front of a bun and use the ears as a bow! We think Minnie would totally approve of this style too.
Book your Disney Vacation
We hope you have fun making your own Minnie Mouse Scrunchies! Once you get the hang of it, you’ll want to make a bunch of them. They would be perfect for a day at the Disney Parks or to give as a gift to your favorite Disney loving friend.
Whether you plan to wear these Minnie Mouse Scrunchies to Disneyland or Walt Disney World, we can help you get there! Find our discount Disney vacation packages online or give our travel experts a call at 855-GET-AWAY.


Join the Conversation!
Leave A Comment