

Pixar Pier is officially open at Disney California Adventure Park and there are so many adorable and fun things to see and experience. The re-imagined land has a whole new look and feel that is sure to create plenty of smiles. One of the biggest attractions is the Incredicoaster. Formerly known as California Screamin', the ride has been transformed into a SUPER rollercoaster that features the Incredibles family. It has music and lights and even the smell of cookies! Num, num. If the smell of cookies isn't enough...you can buy Jack-Jack's awesome cookies from a food cart just outside the attraction. I have a feeling the warm and gooey chocolate chip cookies are going to be pretty popular.
One of my favorite things about Pixar Pier is that Toy Story Mania is still going strong. It is my favorite ride in all of Disney California Adventure Park. Perhaps it has something to do with my competitive nature! Plus, the Toy Story gang is just so funny. Speaking of the gang...you can now meet and mingle with all your favorite Pixar characters (including Jessie!) at the Pixar Promenade. If you have a Pixar fan at your house, then you are going to want to plan time to visit the Pixar Promenade. Make sure to have your autograph book and camera ready!
Over in Walt Disney World, Toy Story Land officially opens on June 30th in Disney’s Hollywood Studios. The brand-new land will focus on Woody and all of his friends as you shrink down to the size of a toy to experience it. The area will feature a Slinky Dog Dash roller coaster, Alien Swirling Saucers, the beloved Toy Story Mania! and of course, food and shopping experiences. You’ll want to get right over to Disney World and meet your favorite Toy Story pals when this new hootin’ land opens.
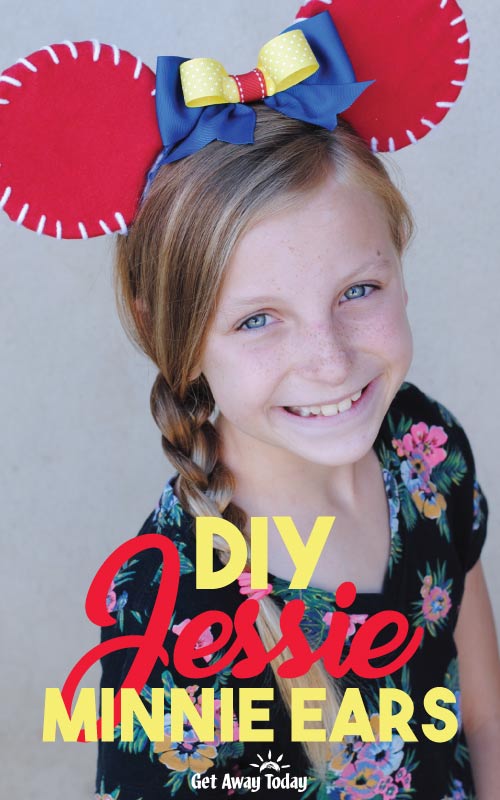
Get into the spirit of Pixar Pier and Toy Story Land with these easy to make Jessie the Cowgirl inspired Minnie Ears. Y'all are going to want to give me a big whopping "Yee-ha!" because I have discovered the best way to make your own Minnie and Mickey ears. I can't wait to show you. Rustle up your supplies and get mooooovin' on this cute craft project. Your Toy Story Jessie Ears are going to be a serious hit for your little buckaroos.
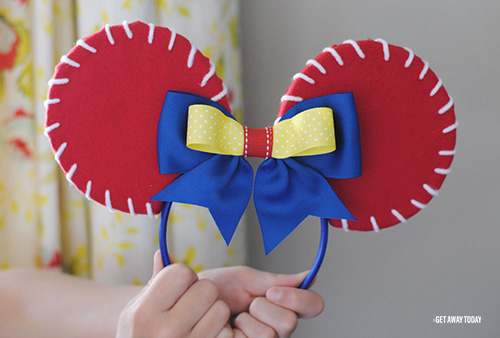
DIY Toy Story Jessie Ears
- 1/3 yard Red Flannel
- Large Pool Noodle
- 2 inch Blue Ribbon
- Polka Dot Yellow Ribbon
- Red Ribbon
- Hot Glue Gun
- Blue Headband
- Scissors
- Marker
- White Yarn
- Yarn Needle
Toy Story Ears Tutorial
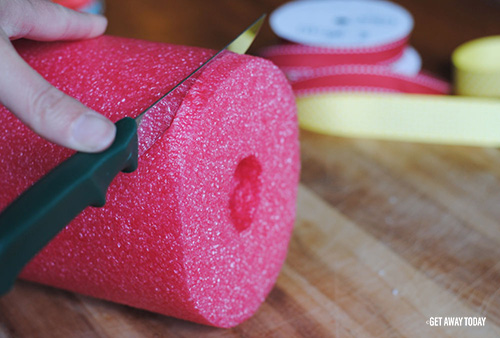
I am most excited about introducing you to the pool noodle trick. That’s right, you can make your own Mickey ears with a pool noodle! Who knew? You can buy pool noodles at Walmart. There are several different sizes. I suggest getting the hefty large pool noodle. It is about 5 inches in diameter. It does not matter what color you get. If you are making the Toy Story Jessie Ears for a toddler, then a standard pool noodle would be the perfect size! What is so awesome about using a pool noodle for the ears base? They are light-weight, circular, easy to cut and inexpensive. All good things!
DIY Toy Story Jessie Ears - Cutting the Ears
Start by cutting two circles from the end of the pool noodle. I made them about 1/2 inch thick. A steak knife worked perfectly for slicing.
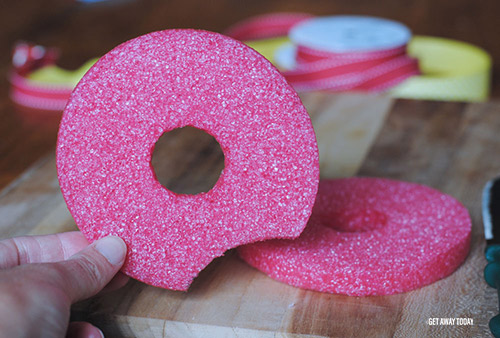
You need to cut a little half-moon shape from the bottom of each pool noodle circle. I used my headband as a guide to see what angle to cut out.
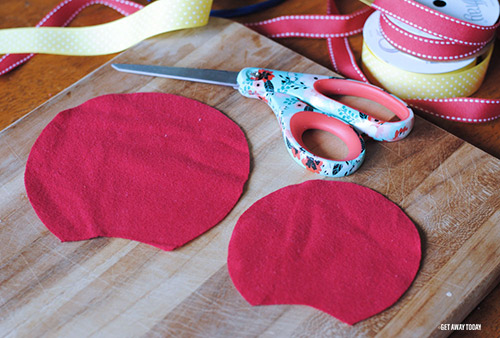
Place the circles onto the red flannel fabric. Use a marker to trace the pool noodle circle one time. Move the circle to a new spot of the fabric. Then, use a marker to trace around the circle a second time, but this time, make a 3/4-inch border around the entire edge. You need to do this for each ear. In the end, you will have traced two small ear patterns and two large ear patterns.
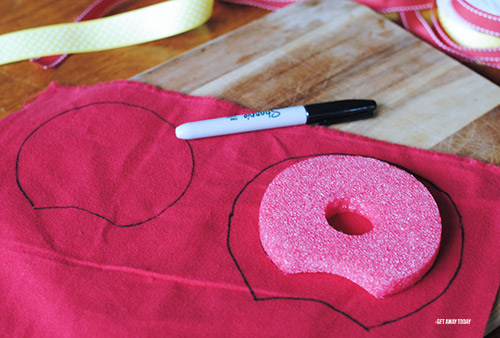
Cut out the shapes from the fabric. The flannel fabric should not fray. Yay!
I did a quick pass across the fabric with an iron to get the wrinkles out. You may want to do the same! Plug in the hot glue gun and get the glue ready.
Place the pool noodle circle onto the larger fabric piece. Add about an inch-long strip of hot glue along the edge of the foam circle and then wrap the fabric around and press it into the glue.
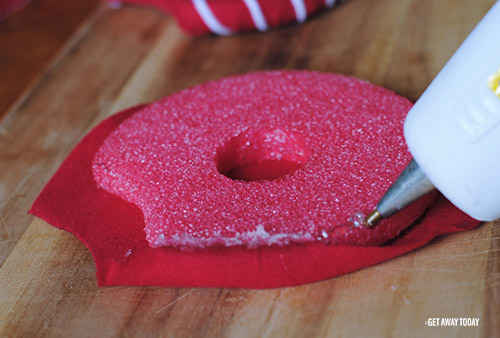
Keep gluing and pressing until you have traveled around the entire circle.
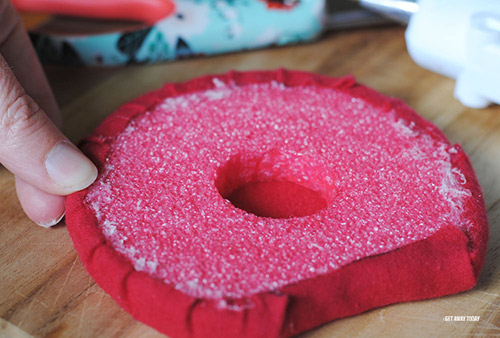
Then, add a thin layer of hot glue around the top edge of the foam circle and quickly place the smaller fabric piece onto the glue and secure it in place. Repeat the steps for the second ear on your Toy Story Story Jessie Ears.
DIY Toy Story Jessie Ears - Yarn Accents
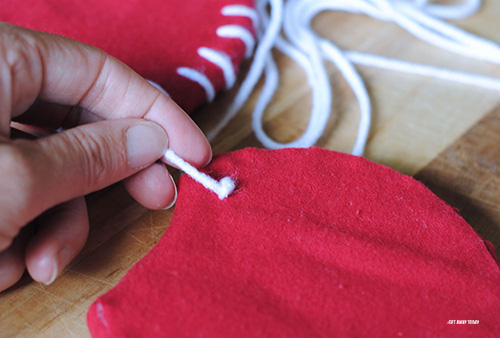
Now, for the fun part! You get to make the ears look like Jessie's cute cowgirl hat. Do not be nervous about doing this stitch. It is crazy simple. Thread a yarn needle with white yarn. You will need about a yard of yarn for each ear.
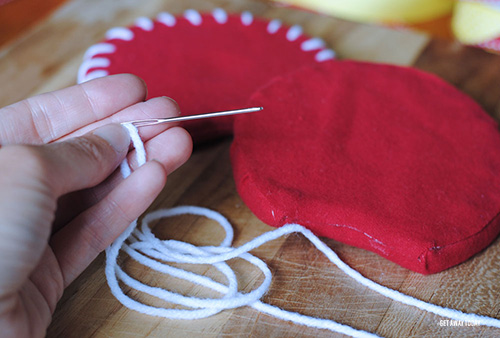
Send the needle through the fabric and pool noodle ear from the back of the ear to the front in the low corner. Pull the yarn all the way through until you have about an inch left over. Tie a knot. Trim the excess string from the knot end.
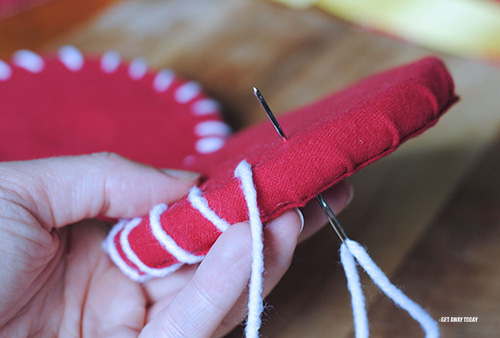
Sew the yarn in a circular pattern by sticking the needle in the front of the ear and pulling it through to the back. Work all the way around the edge of the ear. Try to keep the stitches even.
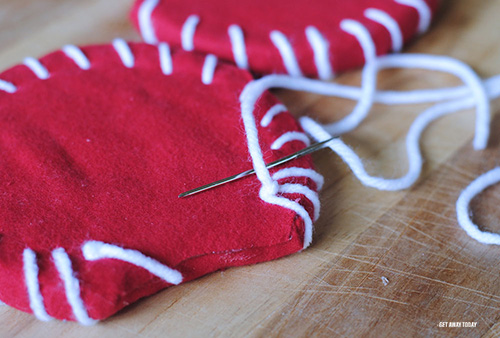
When you get to the end, tie the yarn off in the back and trim the excess. Repeat the steps on the second ear.
Placing the Jessie "Cowboy Hat" Ears
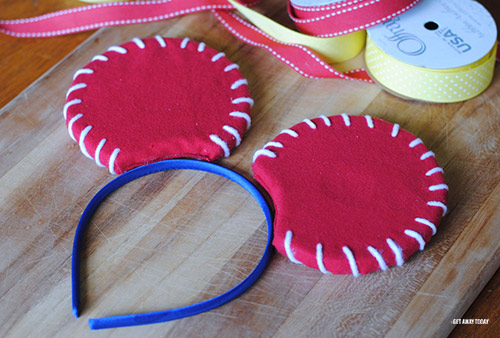
Now, you have two cute Jessie hat ears! Lay them out on a table with your headband. Center the ears. Place them where you feel they fit. I noticed you need to have the ears out further than you might think because the headband spreads open when it is on your head. So, it changes the angle of the ears. I moved mine farther apart after I took this photo!
Glue the ears onto the headband with hot glue. Then, decorate them with a ribbon bow. I totally made things easy by purchasing a pre-made blue bow at the store. It was only a dollar! Then, I added some yellow polka dot and red striped ribbon to match Jessie's outfit.
DIY Jessie Ears - Embellishing with Ribbon
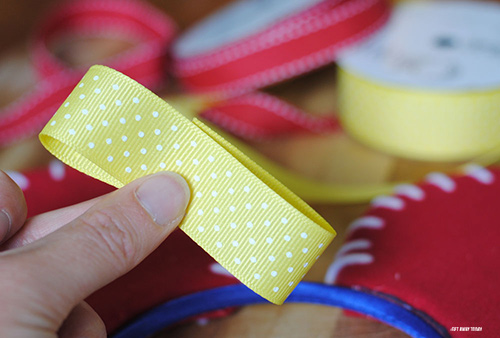
You can make the bow however you want. I cut a 5-inch section of yellow polka dot ribbon, made it into a loop and secured the ends together with a dot of hot glue.
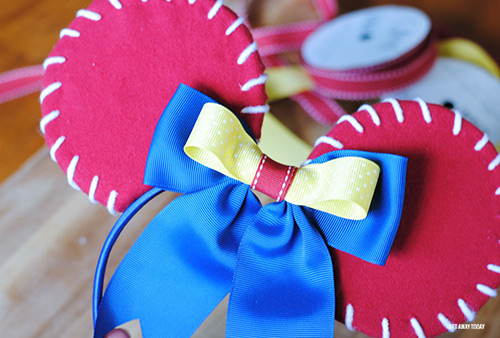
I put the yellow ribbon loop on top of the blue bow. Next, I wrapped a short piece of red ribbon around the center of the yellow ribbon, blue bow and the headband. Make sure to pull the ribbon tight. Then, I placed a dot of hot glue on the back of the headband and the red ribbon to keep them all in place.
Just like that, your Toy Story Jessie Ears are complete! I think the primary colors are so cute. The ears are also super light and comfortable. Just perfect for a day at Pixar Pier or Toy Story Land!

Plan your Pixar-inspired vacation to either Disneyland or Disney World now. You can find Disneyland packages here and Disney World packages here. Or, give our Disney experts a call at 855-GET-AWAY. We can’t wait to help you plan the best vacation yet – especially since you’ll get to show off these cute ears!


Join the Conversation!
Leave A Comment